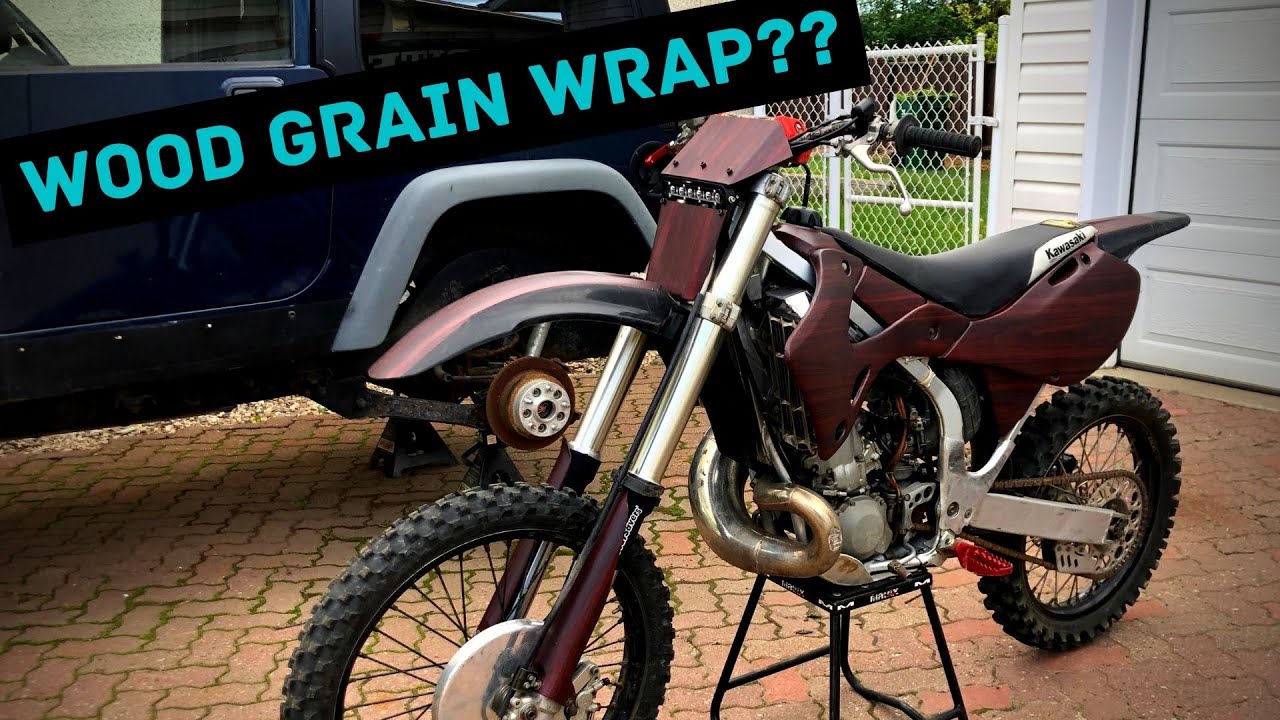
To wrap dirt bike plastics, first, clean the surface thoroughly and ensure it’s dry. Then, carefully apply a heat gun or hairdryer to warm the plastics, making them more pliable.
Gently stretch the vinyl wrap over the plastic and smooth it out, ensuring there are no air bubbles or wrinkles.

Credit: www.revzilla.com
Choosing The Right Wrap For Your Dirt Bike
When it comes to wrapping your dirt bike plastics, it’s important to choose the right wrap that suits your needs. Considering a few factors can help you make an informed decision. Firstly, **evaluate the durability** of the wrap, as you want it to withstand the rigors of off-road riding. Look for a wrap that is **resistant to scratches, tears, and fading**.
Secondly, consider **the ease of installation**. Opt for a wrap that can be applied easily without the need for professional assistance. This will save you time and money. Thirdly, **take into account the design options**. Choose a wrap that allows you to customize and personalize your dirt bike, with a range of colors, patterns, and graphics.
Some of the popular types of wraps for dirt bike plastics include **vinyl wraps** and **graphics kits**. Vinyl wraps provide excellent protection and can be easily removed without damaging the underlying paint. Graphics kits, on the other hand, offer a wide range of design options for a unique look.
Using a professional-grade wrap offers several benefits. Firstly, it ensures **higher quality and durability**, guaranteeing that your wrap will last longer. Moreover, professional-grade wraps often come with **additional features** such as UV resistance, which protects against fading. Finally, professionals can provide **expert installation** for a flawless finish.
Preparing Your Dirt Bike For Wrapping
Before you start wrapping your dirt bike plastics, it’s important to properly prepare them. This involves cleaning the dirt bike plastics to ensure a smooth and even surface for the wrap. Start by removing any existing stickers or decals. Use a heat gun or hairdryer to soften the adhesive, making it easier to peel off. If there is any leftover residue, you can use an adhesive remover or rubbing alcohol to clean it off.
Next, you may need to sand or prime the plastics depending on their condition. If there are any scratches or rough areas, gently sand them with fine-grit sandpaper until they are smooth. After sanding, wipe away any dust with a clean cloth.
If the plastics are discolored or have a rough texture, you may need to prime them before applying the wrap. Choose a plastic primer that is compatible with your wrap material and follow the manufacturer’s instructions for application. Allow the primer to dry completely before moving on to the wrapping process.
Step-By-Step Guide To Wrapping Your Dirt Bike Plastics
Step-by-Step Guide to Wrapping Your Dirt Bike Plastics
Gathering the necessary tools and materials
- Tools: heat gun, utility knife, squeegee, scissors
- Materials: dirt bike wrap, cleaning solution, lint-free cloth
Preparing the wrap for application
- Clean the dirt bike plastics with the cleaning solution and cloth
- Measure and cut the wrap to the desired size for each part
Applying the wrap to different parts of the dirt bike
- Start with a small section, peel off the backing, and apply the wrap
- Use the squeegee to smooth out any wrinkles or bubbles
- Repeat the process for each part, ensuring proper alignment
Techniques for a seamless and bubble-free wrap
- Apply gentle heat with the heat gun to help the wrap conform to the curves
- Work the wrap with the squeegee, gradually and evenly
Cutting and trimming excess wrap
- Use the utility knife to trim excess wrap around edges and openings
- Be careful not to damage the underlying plastics
Dealing with difficult areas and curves
- Stretch the wrap gently while applying heat to conform to difficult areas
- Take your time and use small, precise movements
Heat application for better adhesion
- Apply heat after wrapping each part to activate the adhesive
- This ensures a stronger bond and longevity of the wrap
Applying a protective layer to seal the wrap
- Use a clear protective film or spray to protect the wrap from scratches and UV damage
- This also adds a glossy finish to enhance the overall look
Maintenance And Care Tips For Wrapped Dirt Bike Plastics
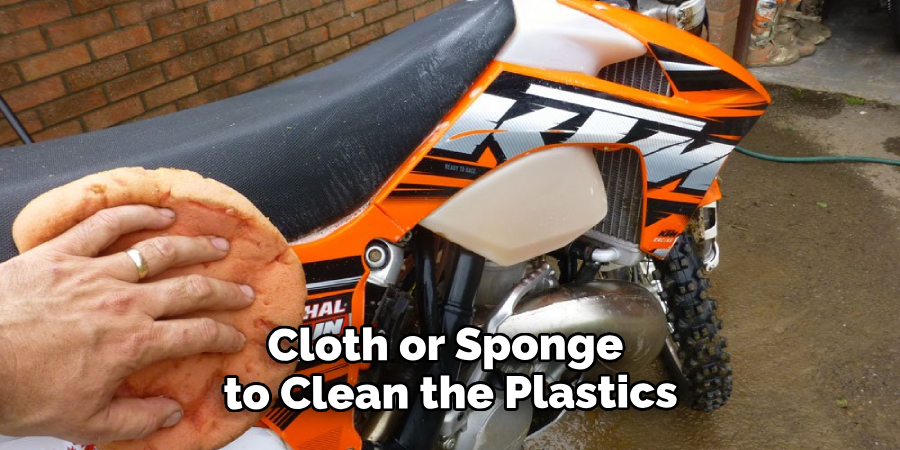
Regular cleaning and maintenance are essential to keep your wrapped dirt bike plastics in top condition.
To begin, it is crucial to avoid using abrasive cleaning agents as they can damage the wrap. Instead, opt for gentle soap or specialized cleaners designed for vinyl wraps. Use a soft, non-abrasive cloth or sponge to clean the plastics, ensuring you do not scrub too harshly.
If you notice small scratches or damages to the wrap, there are simple DIY solutions to fix them. Start by cleaning the area thoroughly, removing any dirt or debris. Then, gently heat the damaged area using a hairdryer to make the vinyl more pliable. Apply a wrap repair kit or a matching vinyl patch to cover up the damage. Smooth it out carefully, making sure there are no air bubbles trapped underneath.
When it comes time to remove the wrap, it is best to follow the manufacturer’s instructions. This usually involves heating the plastic surface with a heat gun or hairdryer and gently peeling off the wrap. Take care not to damage the underlying paint or plastic.
Frequently Asked Questions
| Frequently Asked Questions | |
|---|---|
| Can I wrap my dirt bike plastics by myself? | Yes, you can wrap your dirt bike plastics yourself with a little bit of patience and the right tools. There are plenty of online tutorials and resources available that can guide you through the process step by step. |
| How long does a wrap last? | The durability of a wrap depends on various factors such as the quality of the wrap material, how well it is installed, and the conditions it is subjected to. Generally, a well-installed wrap can last anywhere from 1 to 5 years. |
| Can I customize the design of the wrap? | Yes, one of the advantages of wrapping dirt bike plastics is the ability to customize the design. You can choose from a wide range of colors and patterns or even create your own design to reflect your personal style. |
| Will the wrap damage the original plastics? | No, if the wrap is correctly applied and removed following the proper techniques, it should not damage the original plastics. In fact, the wrap can actually protect the plastics from scratches and other minor damages. |
| Can I remove the wrap without leaving residue? | Yes, most high-quality wraps are designed to be easily removable without leaving any residue behind. However, it is important to carefully follow the removal instructions provided by the manufacturer to ensure a clean removal. |
Frequently Asked Questions On How To Wrap Dirt Bike Plastics
How Do You Wrap Dirt Bike Plastics?
To wrap dirt bike plastics, start by cleaning and sanding the surface. Then, apply heat to the wrap and stretch it over the plastics. Trim off excess wrap and use a heat gun to finalize the adhesion. Wrapping dirt bike plastics can protect them from scratches and add a unique look to your bike.
Can You Wrap Dirt Bike Plastics With Any Vinyl Wrap?
Yes, you can wrap dirt bike plastics with most types of vinyl wrap. However, it’s recommended to use a high-quality, durable wrap specifically designed for outdoor use. This type of wrap is more resistant to fading, peeling, and damage from dirt, water, and UV rays, ensuring a longer-lasting result.
Is Wrapping Dirt Bike Plastics Difficult?
Wrapping dirt bike plastics can be challenging if you are not familiar with the process. It requires patience, attention to detail, and some basic tools. However, with practice and following proper techniques, it becomes easier. Watching online tutorials and seeking advice from experienced wrappers can also help streamline the process.
Conclusion
To sum up, wrapping dirt bike plastics is an essential skill for any rider looking to protect their bike and add a personal touch. By following the step-by-step process outlined in this blog post, you’ll be able to achieve a professional and durable wrap that will make your dirt bike stand out from the crowd.
Remember to choose high-quality materials and take your time during the installation process for the best results. Happy wrapping!