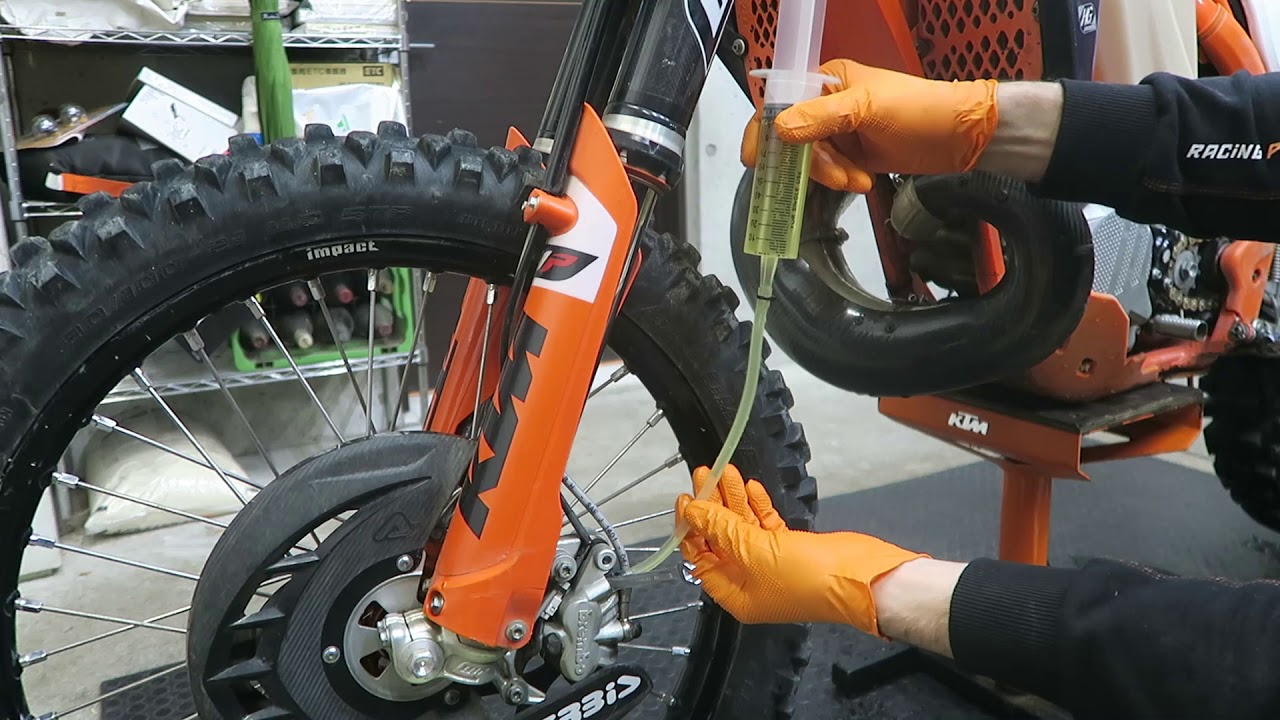
To reverse bleed brakes, attach a bleeding tool to the caliper and force the fluid from the caliper to the master cylinder. Now, let’s dive into the process of reverse bleeding brakes.
When it comes to maintaining your vehicle’s braking system, proper bleeding of the brakes is crucial. Bleeding the brakes removes air bubbles and contaminants from the brake lines, ensuring optimal brake performance. While traditional bleeding methods involve starting at the furthest wheel from the master cylinder and working your way towards it, reverse bleeding reverses the flow of fluid.
This method is particularly useful in situations where air bubbles are trapped in the caliper or wheel cylinder. In this comprehensive guide, we’ll walk you through the step-by-step process of reverse bleeding brakes, helping you maintain your vehicle’s braking system efficiently and effectively.

Credit: www.repairsmith.com
Understanding Brake Bleeding Methods
Understanding Brake Bleeding Methods is crucial when it comes to maintaining your vehicle’s braking system. One common issue that arises during the bleeding process is the presence of air bubbles in the brake lines. These air bubbles can negatively impact brake performance, leading to decreased stopping power and potential safety hazards.
Traditional pressure bleeding is a commonly used method to remove air from the brake lines. This process involves attaching a pressure bleeder to the brake fluid reservoir and pressurizing the system to force fluid through the lines. However, this method can sometimes be ineffective in removing stubborn air bubbles.
Reverse bleeding, on the other hand, is a newer technique that has gained popularity. It involves injecting fluid into the brake system from the caliper or wheel cylinder, pushing air bubbles toward the reservoir. This method ensures that any trapped air is forced out of the system, resulting in improved brake performance.
| Traditional Pressure Bleeding | – Attach a pressure bleeder to the brake fluid reservoir | – Pressurize the system to force fluid through the lines |
|---|---|---|
| Reverse Bleeding | – Inject fluid into the brake system from the caliper or wheel cylinder | – Push air bubbles toward the reservoir |
Whether you choose traditional pressure bleeding or reverse bleeding, it’s essential to anticipate air bubbles in the brake lines and ensure they are effectively removed. By doing so, you can maintain optimum brake performance and enhance your vehicle’s safety.
How Does Reverse Bleeding Work?
Reverse bleeding is a technique used to effectively bleed your brake system. Unlike traditional bleeding, where the brake fluid is forced outwards, reverse bleeding applies pressure from the bleeder screw to push the fluid inwards, towards the master cylinder.
This method takes advantage of fluid movement against gravity, allowing for air bubbles to naturally rise to the highest point in the system. By pushing the fluid in the opposite direction, you can ensure a more thorough and efficient bleeding process.
The purpose of reversing traditional bleeding is to eliminate any trapped air bubbles that might be hiding in the furthest corners of the brake lines. This ensures that your brakes are fully responsive and operating at their optimal level.
Tools And Materials Required
<p>To reverse bleed brakes, you will need a brake bleeding kit, brake fluid, a container for old fluid, and wrenches and pliers. The brake bleeding kit is an essential tool that allows you to remove air bubbles from the brake lines. It typically includes a pump, hose, and various adapters.
Brake fluid is necessary to replace the old fluid, as it can become contaminated over time. You will also need a container to collect the old fluid that is being flushed out. Wrenches and pliers are required to loosen and tighten the brake bleeder screws during the bleeding process. It’s important to have all the necessary tools and materials before starting the reverse bleeding procedure to ensure a smooth and successful brake maintenance process.</p>
How to Reverse Bleed Brakes: Step by Step Guide
Preparing The Brake System
The first step in preparing the brake system for reverse bleeding is to lift the vehicle. This can be done using appropriate equipment, such as a jack or a lift. It is important to ensure that the vehicle is lifted securely to prevent any accidents or damage.
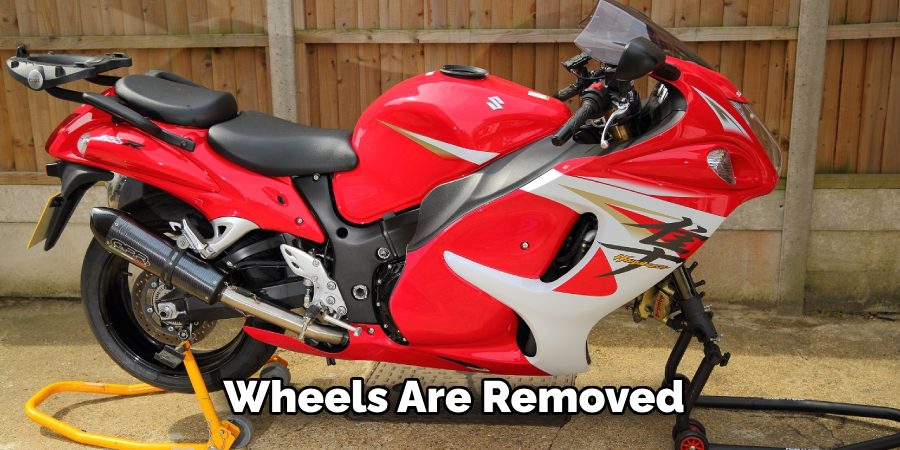
Once the vehicle is lifted, the next step is to remove the wheels. This can be done by loosening the lug nuts with a wrench and then lifting the wheels off the vehicle. It is important to keep track of the lug nuts and any other components that may need to be removed during this process.
After the wheels are removed, the next step is to locate the brake bleeder valves. These valves are typically located on the brake calipers or wheel cylinders. They may be covered by rubber caps that need to be removed. It is important to identify the correct bleeder valves for the brakes being worked on.
Connecting The Brake Bleeding Kit
When connecting the brake bleeding kit, it is important to ensure a proper fit and seal. Start by attaching the kit to the bleeder valves, making sure it is tightly secured. A wrench or pliers can be used to secure the connection even further, ensuring a tight seal.
Pumping Fluid Into The System
When reverse bleeding brakes, you can start by pumping fluid into the system. Begin with the furthest bleeder valve, applying consistent pressure to the brake pedal. This ensures that any air bubbles are forced out of the system and replaced with fresh brake fluid. As you pump the pedal, observe the movement of fluid through the tubing.
This allows you to track the progress of the bleeding process and ensure that the air is being effectively removed. Make sure to maintain a steady flow of fluid until all air bubbles are eliminated. Reverse brake bleeding is an effective method that can help to improve brake performance and ensure a safer driving experience.
Releasing Air And Old Fluid
Reversing brake bleeding is a crucial step in maintaining a properly functioning brake system. Releasing air bubbles and old fluid is an important part of this process. To do so, start by locating the bleeder valve on each brake caliper. Begin with the furthest wheel from the master cylinder and work your way towards it.
Here’s how to repeat the process for each bleeder valve:
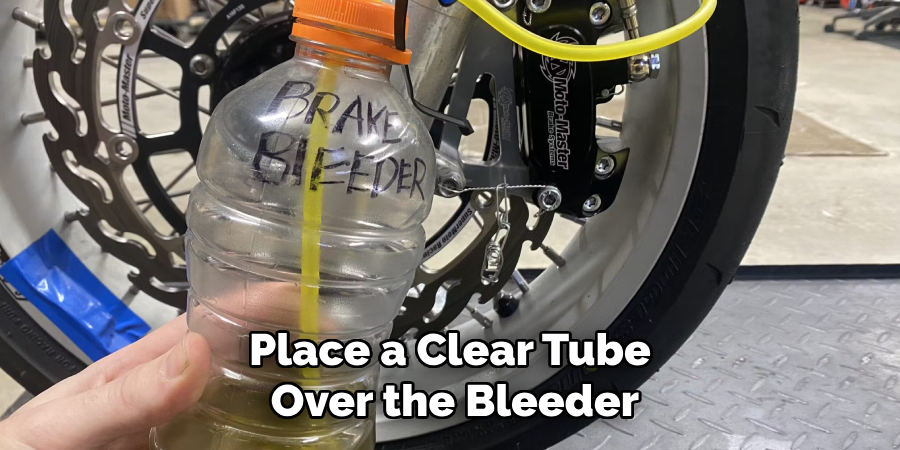
- Place a clear tube over the bleeder valve and submerge the other end into a container to collect the old fluid.
- Open the bleeder valve and attach a brake bleeding tool to it, creating a closed loop system.
- Pump the brake pedal several times until no air bubbles are visible in the tubing.
- Carefully close the bleeder valve, ensuring it is tightly sealed to prevent any air from entering.
- Move on to the next bleeder valve, repeating these steps until you have purged all air bubbles and collected all the old fluid.
This process will ensure that your brake system is free of air bubbles and old fluid, allowing for optimal braking performance. Remember to properly dispose of the old fluid in an environmentally friendly manner.
Checking For System Tightness
| Inspecting for any leaks | Ensuring all bleeder valves have been processed |
| During the reverse brake bleeding process, it is crucial to carefully inspect the entire system for any leaks. This includes checking all connections, hoses, and fittings to ensure there are no signs of fluid leakage. Even a small leak can compromise the effectiveness of the reverse bleeding method. | In order to guarantee a complete reverse bleed, it is important to make sure that all bleeder valves in the brake system have been processed. This ensures that any air trapped in the system is released. Before moving on to the next valve, it is recommended to close each bleeder valve tightly to prevent fluid from seeping out. |
| Confirming firmness of brake pedal | |
| After completing the reverse bleeding procedure, it is essential to verify the firmness of the brake pedal. Pump the pedal several times to build pressure in the system. A firm and responsive pedal indicates that the brakes have been properly bled. If the pedal feels spongy or lacks resistance, additional bleeding may be required. | |
Tips To Optimize Reverse Brake Bleeding
Reverse brake bleeding is a technique that can be used to enhance the performance of your brakes by removing any trapped air. One tip to optimize this process is to use a clear tubing, which allows for better visual feedback. This enables you to see the air bubbles leaving the system, ensuring a more thorough bleeding. Another important point to keep in mind is to maintain the brake fluid level in the master cylinder.
Ensuring that the fluid level remains within the recommended range throughout the bleeding process is crucial for the effectiveness of reverse brake bleeding. Also, it is vital to maintain cleanliness throughout the entire process. This includes using clean tools, ensuring that the brake fluid does not come into contact with dirt or debris, and maintaining a clean work area. By following these tips, you can optimize your reverse brake bleeding process and ensure better braking performance.
Common Mistakes And Troubleshooting
In the process of reverse bleeding brakes, it is important to be aware of common mistakes and troubleshoot them effectively. Overfilling the master cylinder is one such mistake that must be avoided. It can lead to brake fluid spillage, resulting in potential damage to various components. To prevent this, ensure that the master cylinder is filled to the recommended level, as mentioned in the vehicle’s manual.
Another common mistake is incorrect connection with the bleeder valves. It is essential to connect the appropriate bleeding tools securely to the bleeder valves to ensure a proper seal. This will prevent air from entering the system and impeding the reverse bleeding process.
Addressing leaks and air pockets in the system is also crucial. Check for any visible leaks in the brake lines or connections. Additionally, perform a thorough inspection to identify and fix any air pockets trapped within the brake system. Properly identifying and resolving these issues will help ensure a successful reverse bleeding process and optimal brake performance.
Frequently Asked Questions For How To Reverse Bleed Brakes
How Can I Reverse Bleed Brakes?
To reverse bleed brakes, you need a specialized tool like a brake bleeder kit that can push fluid from the caliper up to the master cylinder. Attach the bleeding tool, open the bleeder screws, and pump the fluid until all air bubbles are gone.
This method forces any trapped air to move out of the system, resulting in improved brake performance.
Why Should I Reverse Bleed Brakes?
Reverse bleeding brakes can remove air bubbles that may have become trapped in the system. Traditional bleeding methods may not effectively remove all air from the brake lines, leading to spongy brakes and decreased braking performance. By reversing the flow of fluid, you ensure that any air pockets are pushed out, resulting in a firmer pedal feel and better braking.
Can I Reverse Bleed Brakes Without A Special Tool?
While it is possible to reverse bleed brakes without a special tool, using a brake bleeder kit is highly recommended. The kit allows for a more controlled and efficient process, ensuring that all air bubbles are expelled from the system.
Without the kit, it can be difficult to achieve the same level of effectiveness and may result in incomplete bleeding and air pockets remaining in the lines.
Conclusion
To diligently reverse bleed brakes and ensure optimal performance, follow the recommended steps without fail. By utilizing this technique, you can effectively remove air bubbles from the brake lines, resulting in improved braking efficiency. Remember to prioritize safety and use caution throughout the process.
With practice, you’ll become more proficient at this essential brake maintenance task. Start your reverse bleeding journey today and experience the difference it can make in your vehicle’s braking system.