To change a motorcycle brake lever, follow these steps: loosen the lever clamp bolt, remove the old lever, insert the new lever, and tighten the clamp bolt. Changing a motorcycle brake lever involves these simple and straightforward steps.
First, loosen the lever clamp bolt using a wrench or socket. Then, remove the old lever from the handlebar by sliding it out of the pivot point. Next, insert the new lever, aligning it with the pivot point. Finally, tighten the lever clamp bolt securely.
By following these steps, you can easily replace your motorcycle brake lever and ensure safe and efficient braking on your bike.

Credit: www.rideapart.com
Preparation For Changing Motorcycle Brake Lever
Preparation for changing a motorcycle brake lever begins by gathering the necessary tools and equipment. It is important to identify the type of motorcycle brake lever before starting the process. This will ensure that the correct replacement lever is obtained. Additionally, understanding the steps involved in the process is crucial for a smooth and successful lever swap. Taking the time to research and familiarize oneself with the specific instructions for the particular motorcycle model is recommended.
How to Change Motorcycle Brake Lever: Step by Step Guide
Removing The Old Motorcycle Brake Lever
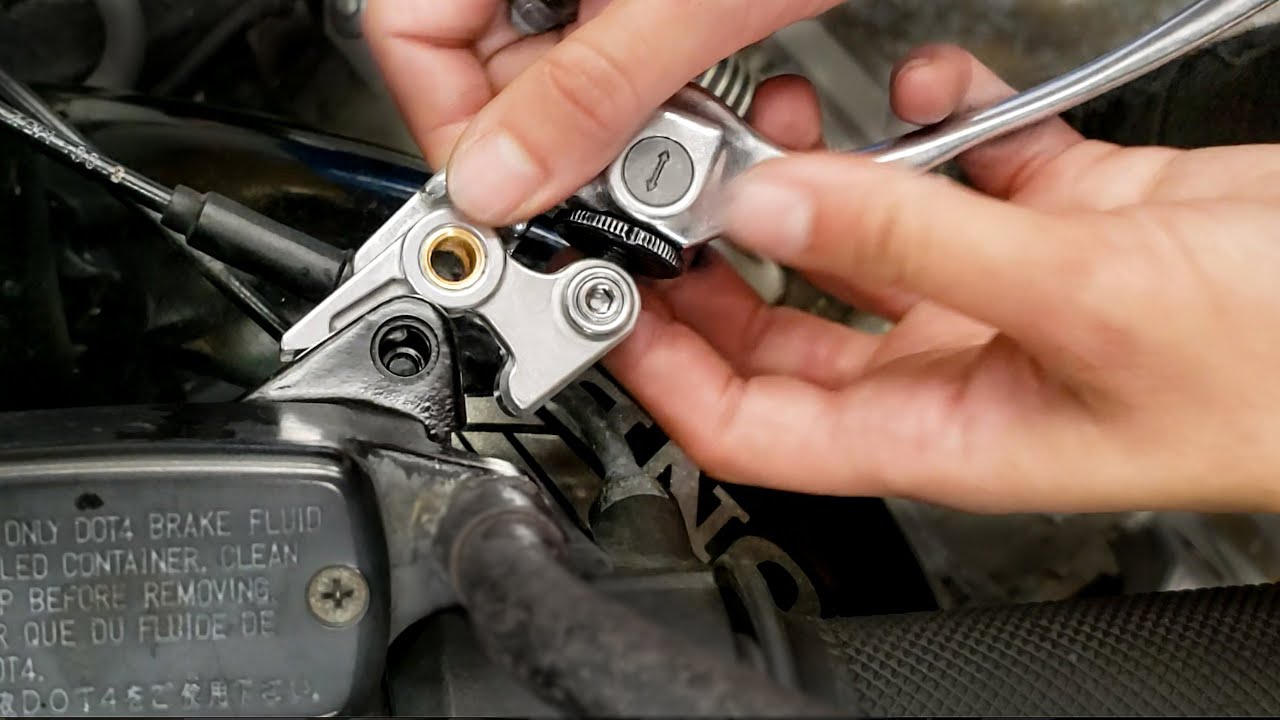
To change your motorcycle brake lever, you need to first remove the old one. This process involves the loosening and removal of the brake lever pivot bolt. Carefully detach the cable or hydraulic line connected to the lever. Additionally, check for any additional components that may be attached, and remove them as well.
Installing The New Motorcycle Brake Lever
When changing the motorcycle brake lever, it is important to correctly position the new lever. Begin by reattaching any additional components that were removed during the process. Once all the components are in place, secure the lever using the pivot bolt, ensuring it is tightly fastened. After securing the lever, it is necessary to adjust it to the desired position. This can be done by loosening the bolt slightly, repositioning the lever, and then tightening the bolt again. It is recommended to test the lever after adjusting to ensure it functions properly. Taking these steps will help in successfully installing the new motorcycle brake lever.
Testing And Adjusting The Brake Lever
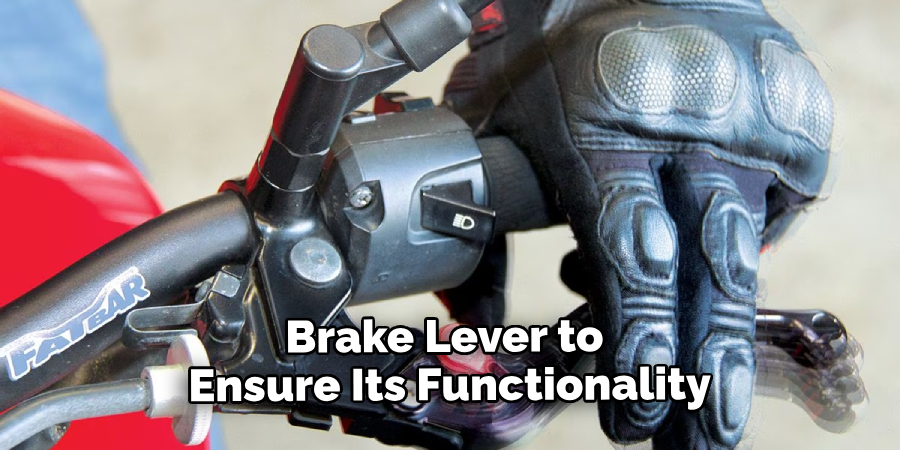
Test the newly installed motorcycle brake lever to ensure its functionality. Begin by applying gentle pressure on the lever to check if it engages smoothly. If there’s any resistance or the lever feels loose, adjustments are necessary. To fine-tune the lever position for optimal comfort, loosen the adjusting nut and adjust the lever’s reach accordingly. Make sure it is easily accessible and can be operated comfortably with one or two fingers.
It is also crucial to ensure the proper adjustment of the brake system itself. Verify that the brake pads engage the disc or drum promptly when the lever is applied. If there is excessive play or the brakes do not respond as expected, consult the motorcycle’s user manual or seek professional assistance. Remember, a properly functioning brake lever is essential for your safety on the road.
Tips For Maintaining The Motorcycle Brake Lever
Regularly inspect and clean the **brake lever** to ensure it functions optimally. Dust, dirt, and debris can accumulate, affecting its performance. Use a soft cloth or a brush to remove any build-up, paying special attention to the pivot areas.
Lubricate the **moving parts** of the brake lever to prevent **corrosion** and ensure smooth operation. Apply a few drops of lubricant to the pivot points and other friction areas, following the manufacturer’s recommendations. This will help extend the lifespan of the lever and maintain its effectiveness.
If the brake lever shows signs of wear, such as cracks, fraying, or sticking, it is best to **replace** it promptly. Using a worn-out lever can compromise your safety and negatively impact braking performance. Consult your motorcycle’s manual or seek professional assistance for the correct replacement lever.
Troubleshooting Common Issues With The Brake Lever
Are you experiencing issues with your motorcycle brake lever? Don’t worry, troubleshooting common problems is easier than you think. Start by identifying the problems with your brake lever. Check for any signs of damage or wear, such as cracks or bent levers. If you notice any issues, it may be time to change your brake lever.
To change the lever, follow these simple steps:
- Start by loosening the clamp bolt that holds the lever in place.
- Once the bolt is loose, you can remove the old lever by sliding it off the mount.
- Install the new lever by sliding it onto the mount and tightening the clamp bolt.
- Make sure the lever is properly aligned and positioned for comfortable use.
- Check the brake lever’s functionality by squeezing it a few times to ensure it engages and releases smoothly.
- Finally, test the brakes to ensure they are working properly before taking your motorcycle for a ride.
By following these troubleshooting steps, you can easily change your motorcycle brake lever and get your bike back on the road safely.
Frequently Asked Questions For How To Change Motorcycle Brake Lever
How Do You Change A Motorcycle Brake Lever?
To change a motorcycle brake lever, start by loosening the brake cable. Then, remove the mounting bolt or nut and slide off the old lever. Install the new lever by sliding it onto the handlebar and tightening the mounting bolt or nut.
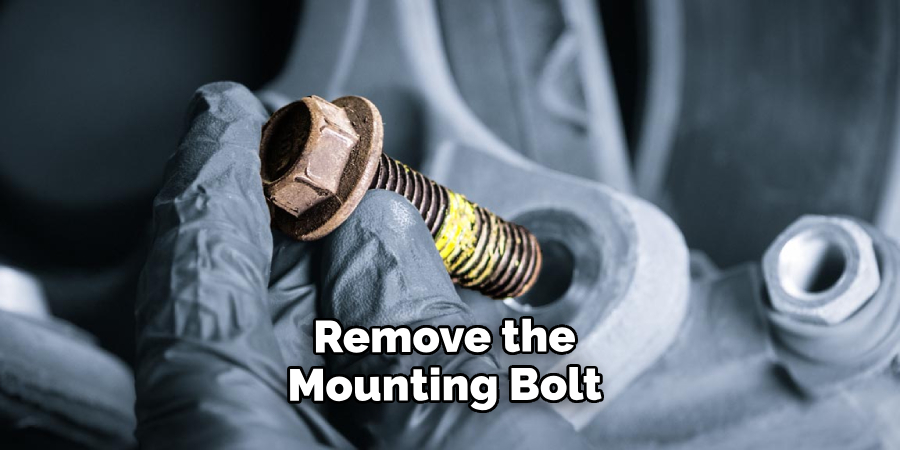
Finally, adjust the brake cable tension and ensure proper functioning before testing. Remember to consult your motorcycle’s manual for specific instructions.
What Tools Are Needed To Change A Motorcycle Brake Lever?
To change a motorcycle brake lever, you will need a set of basic tools including a socket wrench, pliers, Allen wrenches, and possibly a screwdriver. Additionally, it is recommended to have a new brake lever, brake fluid, and an owner’s manual or service manual specific to your motorcycle model.
Having these tools ready will help facilitate a smooth and efficient brake lever replacement process.
Can I Change The Brake Lever Myself Or Do I Need A Professional?
You can change the motorcycle brake lever yourself if you have basic mechanical skills and follow the proper instructions. However, if you are unsure or uncomfortable performing the task, it is always recommended to seek professional help. Professional mechanics have the knowledge and experience necessary to ensure a safe and correct brake lever replacement, reducing the risk of potential issues or accidents.
Conclusion
To sum up, changing your motorcycle brake lever is a simple task that can greatly improve your overall riding experience. With the steps outlined in this guide, it’s easy to see that anyone can tackle this project with confidence. By following these instructions and taking the time to properly install a new brake lever, you’ll ensure your safety on the road and maintain the longevity of your motorcycle.
Remember, safety should always be a top priority when it comes to any maintenance or repairs on your bike. Happy riding!