To replace a clutch on a motorcycle, follow these steps: remove the motorcycle’s engine cover, disconnect the clutch cable, loosen the bolts that hold the clutch plates, remove the old clutch plates, replace them with new ones, tighten the bolts, connect the clutch cable, and finally, reinstall the engine cover. Replacing the clutch on a motorcycle requires a few simple steps, including removing the engine cover, replacing the old clutch plates with new ones, and reconnecting the clutch cable.
By following these steps, you can ensure your motorcycle’s clutch operates smoothly and efficiently to provide a seamless riding experience.

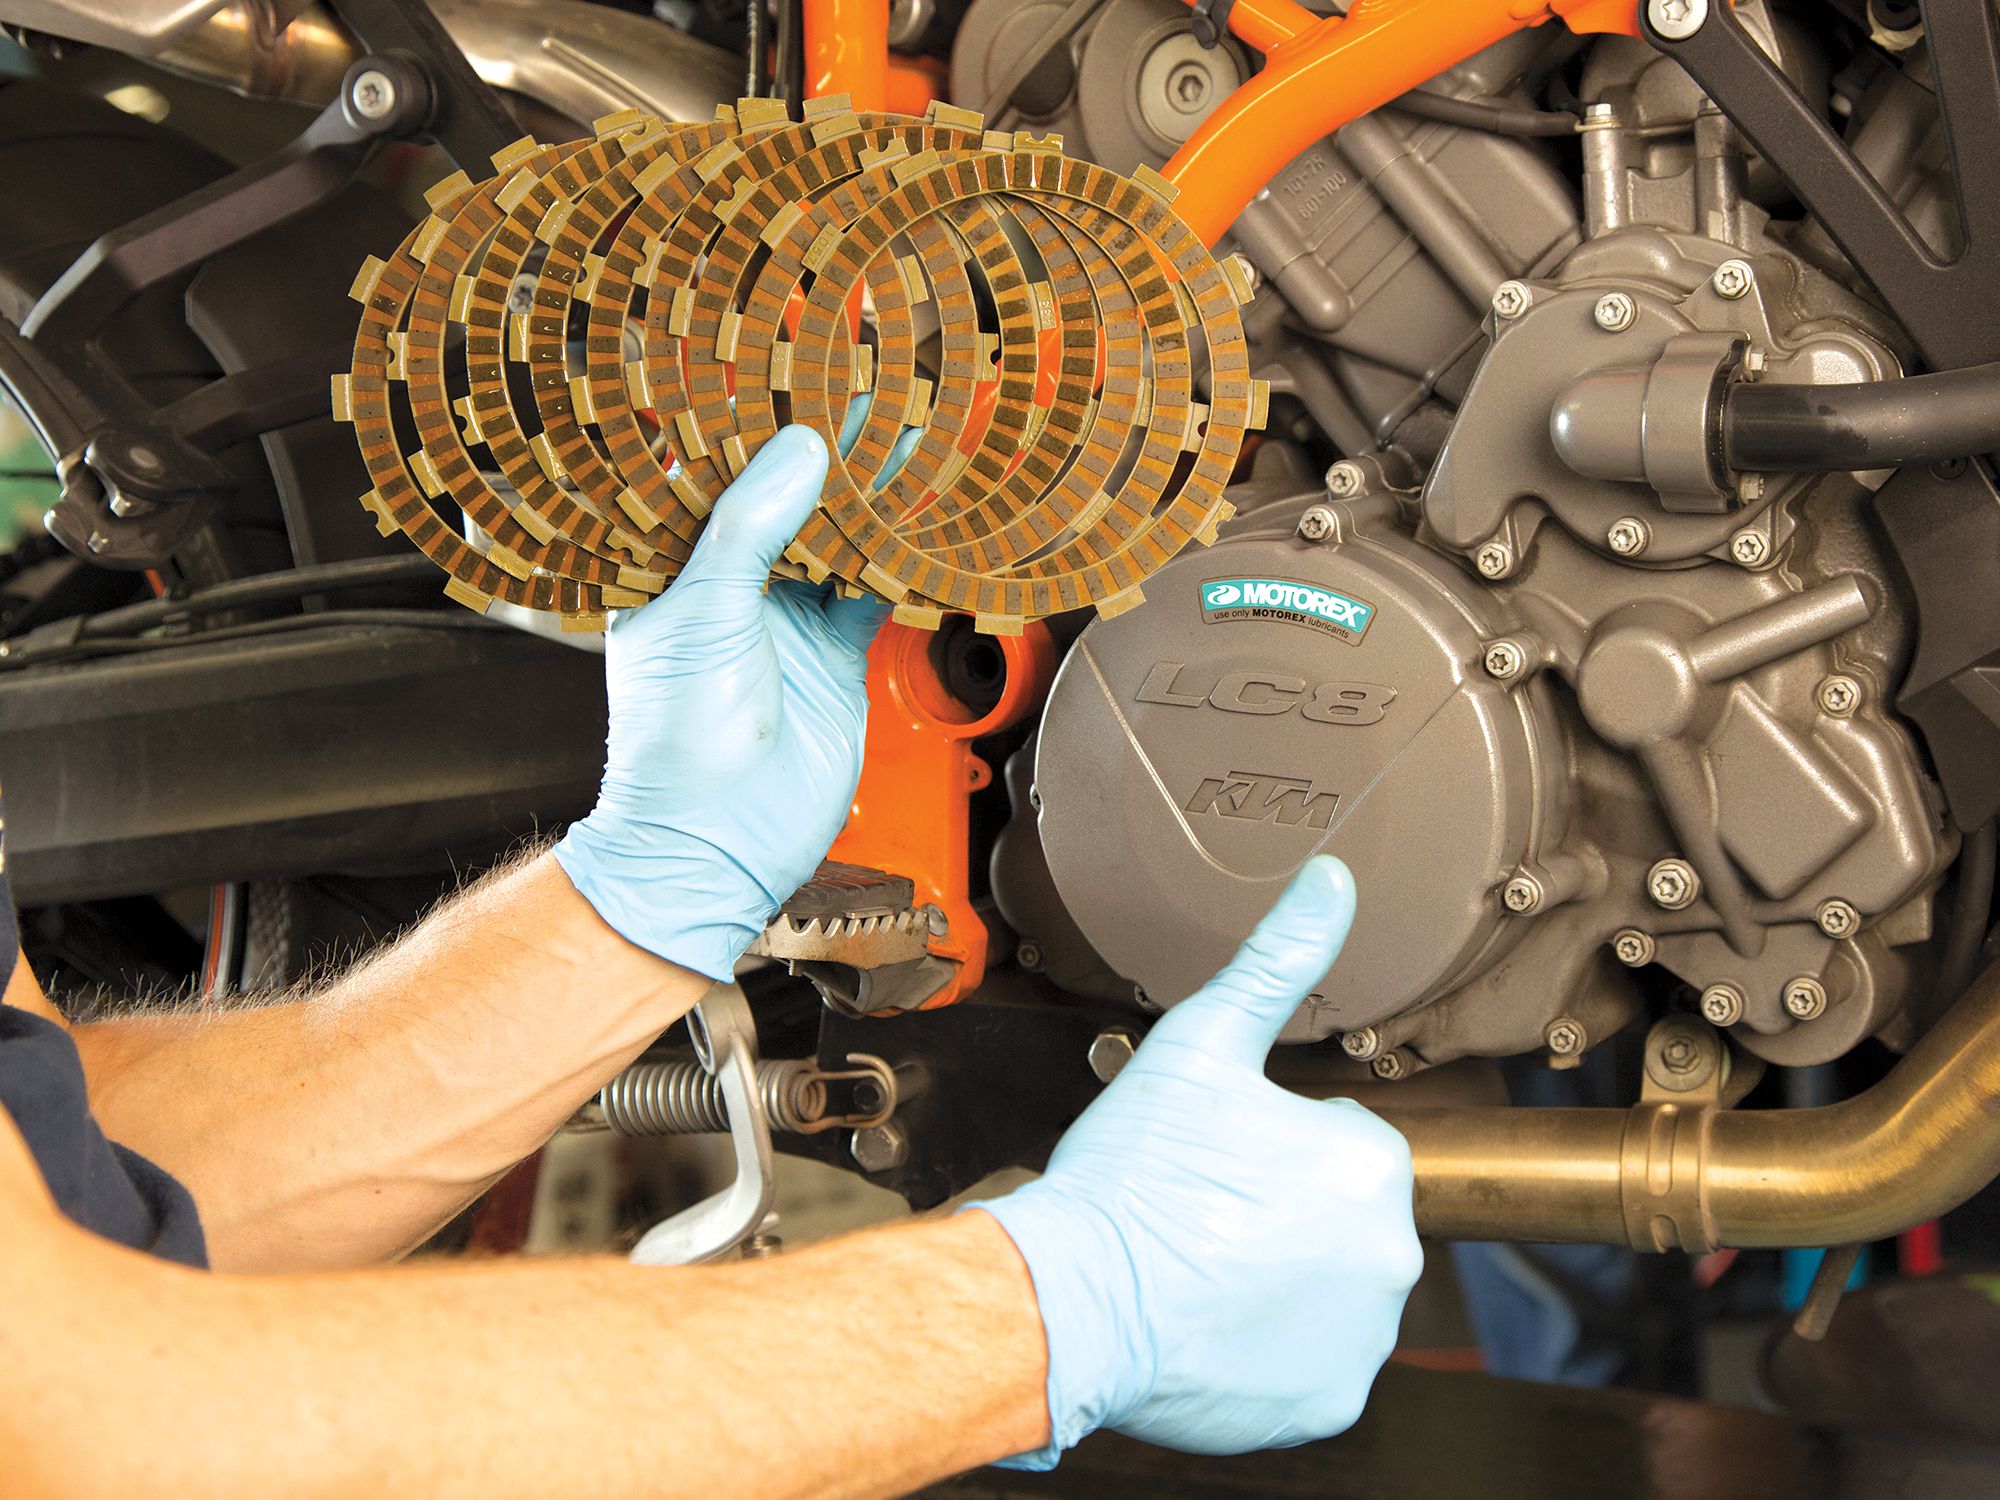
Credit: www.revzilla.com
How to Replace a Clutch on a Motorcycle: Step by Step Guide
Assessing The Clutch
Assessing the clutch is the first step in replacing the clutch on a motorcycle. Understanding the signs of a failing clutch is crucial. Keep an eye out for symptoms like slipping gears, difficulty in shifting, and a burning smell.
Once you have identified these signs, gather the necessary tools and parts,** such as a socket wrench, a clutch alignment tool, and a new clutch kit. Before starting the replacement process, it is essential to prepare the motorcycle properly. Park it in a well-lit, level area, and make sure the engine is cool. Remove the motorcycle seat, disconnect the battery, and drain the oil and coolant. Taking these steps will ensure a smooth and uninterrupted clutch replacement process.
Removing The Old Clutch
When replacing a clutch on a motorcycle, it’s important to begin by draining the transmission fluid. This helps avoid any messy leaks or spills during the process. Simply locate the drain plug on the bottom of the transmission case and place a container beneath it to catch the fluid. Be sure to dispose of the fluid properly.
Next, you’ll need to disassemble the clutch cover. Start by removing any bolts or screws that are holding it in place. Carefully lift the cover off to expose the clutch plates and springs. Take note of their arrangement as you’ll need to reinstall them correctly later.
With the cover removed, you can now proceed to remove the clutch plates and springs. This is typically done by carefully releasing any tension on the clutch springs and then sliding the plates out one by one. Be cautious not to damage any of the components while doing this.
Installing The New Clutch
When replacing the clutch on a motorcycle, one important step is installing the new clutch. Before doing so, it is crucial to clean and inspect the clutch components. This ensures that any debris or damage is identified and addressed before reassembly.
Cleaning the clutch components involves removing the old clutch plates and springs. Carefully clean them with a solvent to remove any dirt or buildup. Inspect each component for wear or damage, and replace any parts that are worn out or faulty.
Once the components are clean and inspected, it’s time to install the new clutch plates and springs. Make sure to follow the manufacturer’s instructions for proper installation. This usually involves alternating between the friction plates and the steel plates.
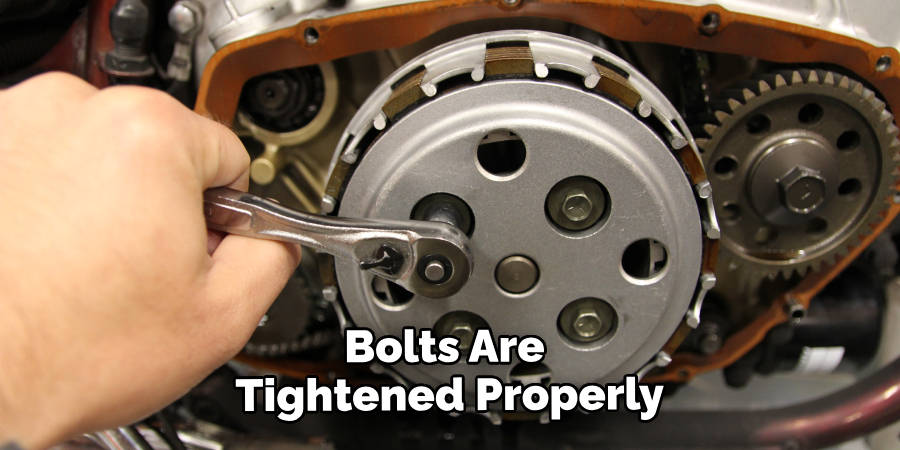
After the new clutch plates and springs are in place, reassemble the clutch cover. Make sure all bolts are tightened properly, and double-check that everything is aligned correctly.
With the new clutch installed, the motorcycle should be ready to ride again!
Testing And Adjusting The Clutch
- Check the clutch for proper operation by engaging and disengaging it.
- If the clutch is slipping or not engaging smoothly, adjustments may be required.
- Inspect the clutch freeplay and adjust it as needed.
- To ensure proper adjustment, refer to the motorcycle’s service manual.
Filling the transmission with fresh fluid:
- Locate the transmission filler plug and remove it.
- Using a funnel, add fresh transmission fluid until it reaches the appropriate level.
- Replace the filler plug and ensure it is tightened securely.
- Consult the motorcycle’s manual for the recommended type and amount of fluid.
Maintenance Tips For A Healthy Clutch
In order to maintain a healthy clutch on your motorcycle, it is essential to regularly inspect the clutch components. This includes checking for any signs of wear or damage to the clutch plates, spring, and hub.
Proper clutch cable adjustment is crucial for efficient clutch operation. Ensuring the cable is neither too loose nor too tight will prevent slipping or dragging of the clutch. Follow the manufacturer’s specifications to achieve the correct cable tension.
Preserving the life of your clutch involves adopting certain techniques. Avoid excessive slipping of the clutch when accelerating and make smooth gear changes to minimize clutch wear. Additionally, being gentle with the clutch lever and avoiding harsh engagement will help extend its lifespan.
Regular maintenance and proper usage of the clutch are key to its longevity and performance. By incorporating these tips into your motorcycle maintenance routine, you can ensure a smooth and hassle-free riding experience.
Frequently Asked Questions Of How To Replace A Clutch On A Motorcycle
How Long Does It Take To Replace A Clutch On A Motorcycle?
The time it takes to replace a clutch on a motorcycle can vary depending on the make and model, but it generally takes a few hours. It is recommended to set aside a full day to ensure you have enough time to complete the job properly.
What Tools Do I Need To Replace A Clutch On A Motorcycle?
To replace a clutch on a motorcycle, you will need a socket wrench set, a torque wrench, a clutch holding tool, a clutch pack holder, and a clutch alignment tool. It’s also a good idea to have a service manual specific to your motorcycle to guide you through the process.
Can I Replace A Clutch On A Motorcycle Myself As A Beginner?
While it is possible to replace a clutch on a motorcycle yourself as a beginner, it is a complex and technical job that requires some mechanical know-how. It’s important to have a good understanding of your motorcycle’s components and to carefully follow the manufacturer’s instructions.
If you’re unsure, it may be best to seek the help of a professional mechanic.
Conclusion
Replacing a clutch on a motorcycle doesn’t have to be a daunting task. With the right tools and a step-by-step approach, you can do it yourself and save money. By following the guidelines outlined in this blog post, you’ll be able to confidently tackle this repair.
Remember to take your time, stay organized, and refer back to the manufacturer’s instructions. With a little patience and know-how, you’ll have your motorcycle running smoothly in no time.