To clean a dirt bike carb without taking it off, you can use a carb cleaner spray and a small brush. When it comes to maintaining and keeping your dirt bike in peak condition, cleaning the carburetor is a crucial task.
A dirty or clogged carburetor can lead to poor engine performance and reduced fuel efficiency. However, many riders are hesitant to dismantle their dirt bike’s carburetor due to the complexities involved. The good news is that it’s possible to clean the carburetor without taking it off entirely.
We will guide you through the process of cleaning a dirt bike carb without removing it, using simple tools and techniques. So, let’s dive in and learn how to get your carbureted dirt bike running smoothly without a hassle.

Credit: www.instructables.com
Benefits Of Cleaning A Dirt Bike Carb Without Removing It
There are several benefits of cleaning a dirt bike carburetor without removing it. First, it saves you time as you don’t have to go through the process of removing and disassembling the carburetor. Second, it is a cost-effective method as you don’t need to purchase any special cleaning solutions or tools. Third, by avoiding potential damage, you reduce the risk of accidentally breaking or misplacing any small carburetor parts.
This method also helps in preserving the overall performance and lifespan of your dirt bike carburetor. Regular cleaning without taking it off ensures that it remains free from clogs, dirt, and debris, enhancing its fuel efficiency and reliability. Follow simple steps like removing the air filter, using a carburetor cleaner, and cleaning the exterior to keep your dirt bike carburetor in excellent working condition.
Tools Needed For Cleaning A Dirt Bike Carb Without Taking It Off
| Tools Needed for Cleaning a Dirt Bike Carb Without Taking It Off | |
| Air compressor | Used to blow away dirt and debris from the carburetor. |
| Carburetor cleaner | A cleaning solution specifically designed to remove dirt and grime from carburetors. |
| Wire brush | Helps to scrub off stubborn deposits and corrosion from the carburetor. |
| Screwdriver | Used to remove screws and access the carburetor for cleaning. |
| Safety goggles | Protective eyewear to shield your eyes from cleaning chemicals and debris. |
When cleaning a dirt bike carb without taking it off, you’ll need a few essential tools. First, an air compressor is necessary to blow away any dirt and debris that may have accumulated. Additionally, a carburetor cleaner specifically formulated for carburetors will help to remove dirt and grime.
A wire brush can be used to scrub off stubborn deposits and corrosion. You’ll also need a screwdriver to remove screws and access the carburetor for cleaning. Lastly, don’t forget to wear safety goggles to protect your eyes from cleaning chemicals and debris. With these tools, you’ll be able to effectively clean the carburetor of your dirt bike without having to take it off.
How to Clean a Dirt Bike Carb Without Taking It off: Step by Step Guide
Step 1: Preparation For Cleaning
For cleaning a dirt bike carburetor without taking it off, proper preparation is key to ensure a successful cleaning process.
Gather necessary tools and materials: Before starting, gather all the necessary tools and materials such as gloves, safety goggles, carburetor cleaner, a small brush, and a clean cloth.
Ensure dirt bike is turned off and cool: It is essential to turn off the dirt bike and allow it to cool down completely before attempting to clean the carburetor. This will help prevent any accidents or injuries.
Once you have gathered the required tools and ensured the dirt bike is turned off and cooled, you are ready to proceed with the cleaning process. Remember to follow the manufacturer’s instructions and take necessary safety precautions throughout the process.
Step 2: Remove Air Filter
To clean a dirt bike carburetor without taking it off, you need to follow a step-by-step process. Step 2 involves removing the air filter. Start by locating the air filter cover, which is usually located on the side of the carburetor. Remove the screws or clips that hold the cover in place. Once the cover is removed, take out the air filter. Inspect the filter for any dirt, debris, or damage.
If it’s dirty, clean it using compressed air or by gently washing it with mild soap and water. Allow the filter to dry completely before reinstalling it. A clean air filter ensures proper air flow into the carburetor, resulting in better performance of your dirt bike. Remember to follow the remaining steps to complete the carburetor cleaning process.
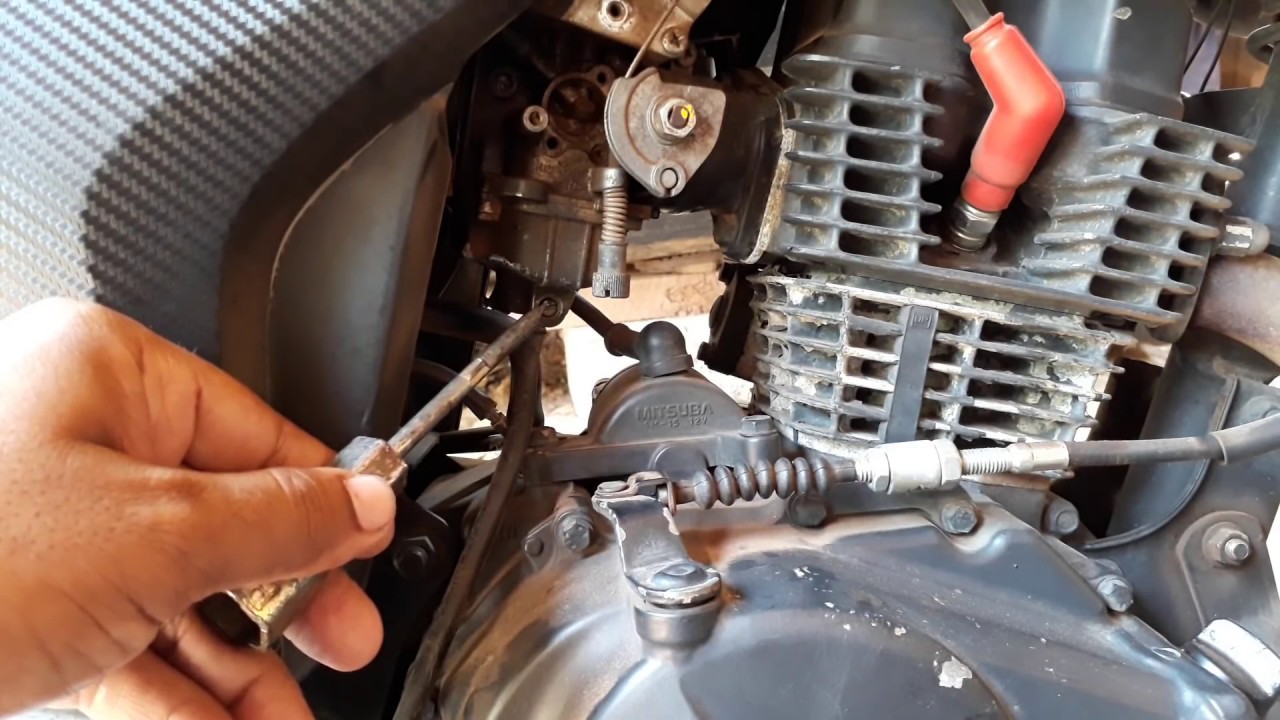
Step 3: Access Carburetor
When it comes to cleaning a dirt bike carburetor without removing it, accessing the carburetor is an important step. To do this, you need to remove the carburetor cover or housing. This will allow you to gain access to the carburetor and clean it properly.
Step 4: Clean Exterior Of Carburetor
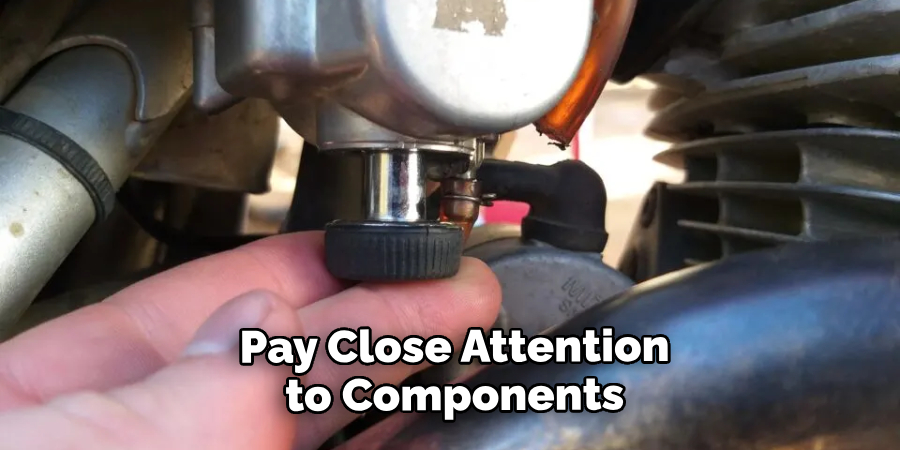
To clean the exterior of a dirt bike carburetor, start by using a wire brush to carefully remove dirt and debris. Take caution not to damage any parts while scrubbing. The wire brush will help to dislodge any stubborn grime, allowing for a thorough cleaning of the carburetor exterior. Make sure to inspect the carburetor as you clean, paying close attention to any areas that may require additional attention.
Step 5: Clean Carburetor Jets And Passages
Spray a generous amount of carburetor cleaner onto the jets and passages of the dirt bike carburetor. This powerful cleaner will help dissolve any build-up or debris present. Allow the cleaner to sit for a few minutes to effectively break down the dirt and grime.
Next, use compressed air to blow out the loosened debris from the jets and passages. The high-pressure air will effectively clear away any remaining dirt or residue. Be sure to direct the air carefully to avoid damaging the sensitive parts of the carburetor.
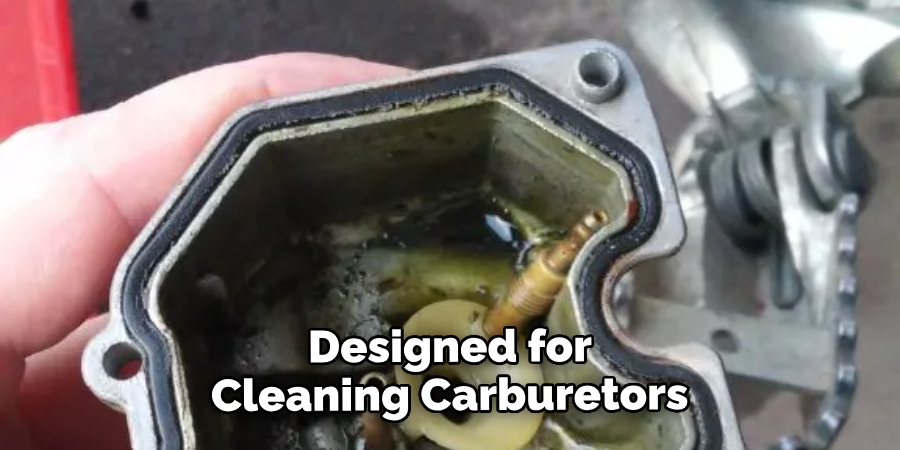
Step 6: Check And Clean Float Bowl
Inspecting the float bowl for dirt or sediment is an essential step in cleaning a dirt bike carburetor. If you notice any debris or grime, it is necessary to remove the float bowl for thorough cleaning. Once the float bowl is removed, you can clean it using carburetor cleaner and a brush. It is crucial to ensure that the float bowl is free from any buildup or obstructions to maintain the proper functioning of the carburetor.
Step 7: Reassemble Carburetor Components
After cleaning the dirt bike carburetor, it’s time to reassemble the components. Start by putting back the float bowl if it was removed during the cleaning process. Make sure it is properly aligned and securely in place.
Next, reattach the carburetor cover or housing. Carefully position it and secure it using the appropriate screws or bolts. Double-check that it is firmly attached to prevent any leaks or issues.
Finally, replace the air filter and its cover. Ensure that the air filter is clean and in good condition before putting it back. Secure the cover tightly to protect the filter from dirt and debris.
Regular Inspections
Routine inspections are crucial for maintaining a dirt bike’s carburetor. Regularly checking the condition of the carburetor helps identify any signs of dirt or buildup. **Dirt or debris** can clog the carburetor and affect its performance, leading to issues like **poor throttle response** and **inefficient fuel mixture**. It is recommended to inspect the carburetor for any accumulated grime, **foreign particles**, or **corrosion**. If such issues are detected, it is essential to clean the carburetor to ensure optimal functioning.
During the inspection, pay close attention to components like the **float needle**, **jets**, **bowl gasket**, and **float bowl**. These parts are particularly susceptible to dirt and debris accumulation. Additionally, check for any damages or wear and tear that may require repair or replacement.
By conducting regular inspections and promptly cleaning the carburetor when necessary, you can maintain **optimum engine performance** and extend the lifespan of your dirt bike.
Proper Storage
If you want to clean a dirt bike carb without taking it off, proper storage is essential. Keeping your dirt bike in a clean and dry area is crucial as it prevents dirt and debris from entering the carburetor. When storing your bike, make sure to remove any excess dirt and mud from the carburetor and surrounding areas.
This will minimize the risk of clogging and ensure optimal performance. Additionally, consider using a bike cover to protect it from dust and moisture. Regularly checking and cleaning the air filters is another important aspect of proper storage, as dirty filters can lead to carburetor issues. By following these storage practices, you can maintain a clean carburetor and prolong the lifespan of your dirt bike.
Use High-Quality Fuel
Use high-quality fuel to minimize the risk of fuel system clogs and deposits. When cleaning a dirt bike carburetor without taking it off, the quality of fuel becomes even more important. Low-quality fuel tends to leave behind residue and can lead to carburetor clogs over time. Opting for high-quality fuel can help prevent these issues and keep your dirt bike running smoothly.
Clean Air Filter
Regularly cleaning or replacing the air filter is essential to prevent dirt from entering the carburetor of your dirt bike. A dirty or clogged air filter can restrict airflow and lead to poor performance or engine damage. Cleaning the air filter is a simple task that can be done without removing the carburetor. Begin by removing the filter from its housing and inspecting it for dirt, debris, or damage.
If it’s dirty, gently tap it against a hard surface to dislodge loose particles or use compressed air to blow away the dirt. Avoid using excessive force, as it could damage the filter. If the filter is excessively dirty or damaged, it’s best to replace it with a new one. Make sure to properly seat the filter back into its housing after cleaning or replacement.
Consider A Fuel Additive
Consider using a fuel additive to clean your dirt bike carburetor without the need to take it off. A reliable fuel additive will assist in keeping the carburetor clean and prevent the build-up of dirt and debris. It works by removing deposits and improving fuel combustion.
Additionally, fuel additives help to lubricate the moving parts within the carburetor, ensuring smooth operation and reducing the chances of clogs. When selecting a fuel additive, look for one specifically designed for cleaning carburetors.
To use the fuel additive, simply add it to your fuel tank according to the manufacturer’s instructions. It will then mix with the fuel and be carried into the carburetor, where it will start to dissolve any existing deposits. Regularly using a fuel additive can help maintain the cleanliness and performance of your dirt bike carburetor.
Professional Maintenance
If you want to learn how to clean a dirt bike carb without removing it, follow these steps:
- Start by turning off the fuel valve to prevent gas from flowing to the carburetor.
- Remove the air filter cover and the air filter, which will allow you access to the carburetor.
- Using a wrench, unscrew the carburetor float bowl drain plug and let the fuel drain out.
- Next, remove the carburetor float bowl by unscrewing the bolts or screws that hold it in place.
- Carefully clean the carburetor using a carb cleaner spray, making sure to remove any dirt, debris, or residue.
- Inspect the carburetor components, such as the jets and the needle valve, and clean them thoroughly if necessary.
- Reassemble the carburetor, making sure to tighten all the screws or bolts properly.
- Lastly, reinstall the air filter and cover, and turn on the fuel valve.
Remember that cleaning a carburetor without removing it can be tricky, so if you are uncertain or inexperienced, it is best to consult a professional for assistance.
Frequently Asked Questions For How To Clean A Dirt Bike Carb Without Taking It Off
How Can I Clean A Dirt Bike Carb Without Taking It Off?
You can clean a dirt bike carb without removing it by using a carb cleaner spray. Start by removing the air filter and spraying the cleaner into the carb’s air intake. Let it sit for a few minutes, then start the bike and let it run for a few more minutes.
This will help clean the carb and remove any built-up dirt or debris.
Is It Necessary To Clean A Dirt Bike Carb Regularly?
Yes, it is important to clean a dirt bike carb regularly to maintain its performance. Over time, dirt and debris can accumulate in the carburetor, affecting the fuel-air mixture and causing poor performance. Regular cleaning helps prevent clogging and ensures optimal bike performance.
What Are The Signs Of A Dirty Dirt Bike Carb?
Signs of a dirty dirt bike carb include difficulty starting, poor idling, hesitation or sputtering during acceleration, and decreased overall performance. If you notice any of these symptoms, it may be time to clean the carburetor to improve your dirt bike’s performance.
Conclusion
Cleaning a dirt bike carburetor without removing it may seem challenging, but with the right method, it can be done efficiently. By following the step-by-step instructions provided in this blog post, you can effectively clean your dirt bike carburetor and ensure optimal performance.
With regular maintenance and proper cleaning techniques, you can keep your dirt bike running smoothly for years to come. Start cleaning your carburetor today and enjoy a hassle-free off-road riding experience.