Changing a dirt bike tube involves removing the tire, releasing the air pressure, and installing a new tube before reassembling the tire. Riding a dirt bike can be an exhilarating experience, but it’s not uncommon to encounter a flat tire.
When this happens, it’s important to know how to change a dirt bike tube. Whether you’re a seasoned rider or just starting out, being able to make this repair quickly and efficiently can save you both time and frustration. We will walk you through the step-by-step process of changing a dirt bike tube.
By following these instructions, you’ll be back on your bike and ready to hit the trails in no time. So let’s get started!

Credit: www.motosport.com
Tools And Materials Required
To change a dirt bike tube, you will need the following tools and materials:
| Tire levers | Replacement dirt bike tube | Patch kit (optional) | Hand pump or air compressor |
|---|
When changing a dirt bike tube, tire levers are essential in removing the old tube from the tire. Make sure to have a replacement dirt bike tube on hand to replace the old one. It is also recommended to have a patch kit in case you need to repair the tube instead of replacing it entirely. Finally, you will need a hand pump or air compressor to inflate the new tube once it is installed.
How to Change a Dirt Bike Tube: Step by Step Guide
Preparing The Bike
Preparing the bike is the first step in changing a dirt bike tube. Park the bike on level ground to ensure stability during the process. Use a center stand or a motorcycle stand to prop up the bike securely. This will provide easy access to the wheels and make it easier to remove and install the tube.
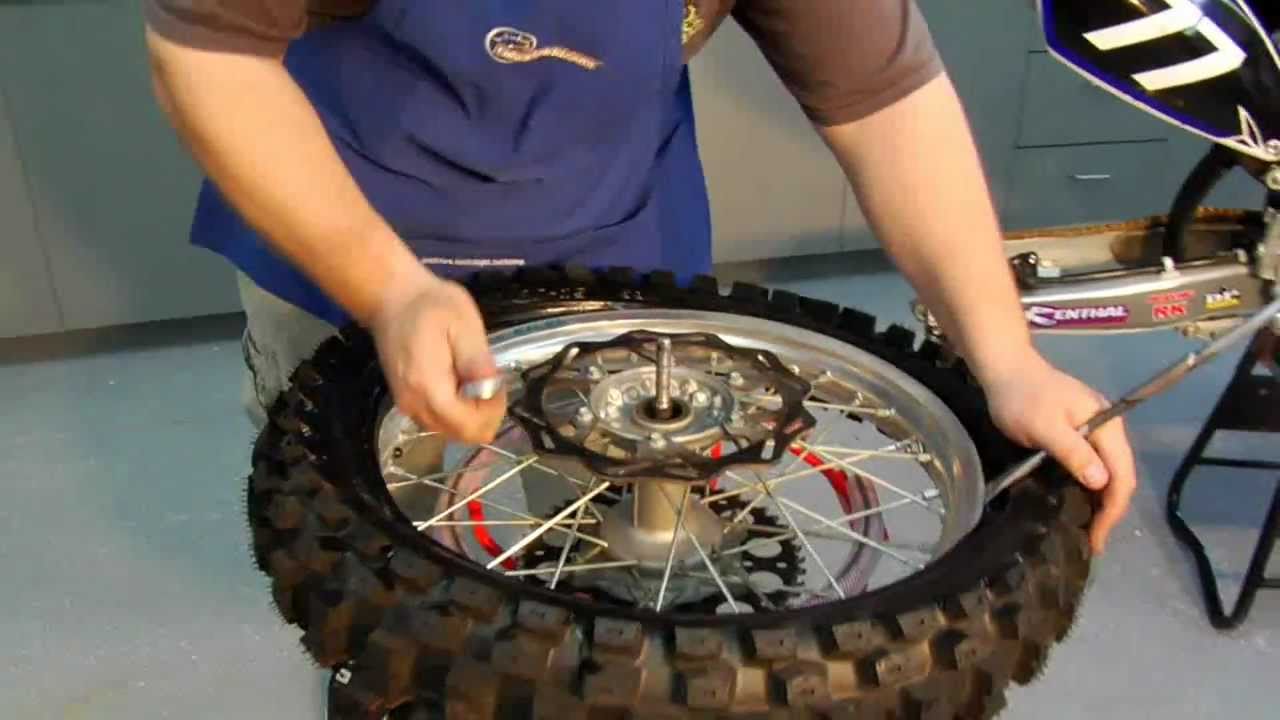
Removing The Flat Tube
Deflating the tire completely by using the valve stem is the first step in removing the flat tube from a dirt bike. By using tire levers, you can loosen and remove the tire from the rim. Carefully sliding the tire lever under the tire bead and working it around the rim will eventually result in the tire coming off. This process allows you to access the tube and replace it with a new one in case of a puncture or damage.
Inspecting The Tire And Rim
Inspecting the tire and rim is an essential step in changing a dirt bike tube. Start by visually examining the tire for any signs of damage or wear. Look for cuts, tears, or any objects embedded in the tire that may cause a puncture. It’s important to identify any issues before proceeding with the tube replacement.
Next, shift your focus to the rim. Ensure that it is free from any sharp objects or debris that could potentially cause punctures. Run your finger along the inner surface to check for any rough spots or sharp edges. Remove any foreign objects or debris that you may find.
Replacing The Tube
Replacing a dirt bike tube is a simple process that can be done with a few basic tools. To start, apply a small amount of **talcum powder** to the inside of the new tube to help it slide into place smoothly. Once the tube is coated, carefully insert it into the tire, ensuring that it is evenly distributed. Using **tire levers**, begin to work the tire back on, taking care not to pinch the tube between the tire and the rim. This step may require some patience and finesse to avoid any damage. Finally, double-check that the tube is securely in place and not pinched anywhere before riding your dirt bike again.
Inflating And Balancing The Tire
Use a hand pump or air compressor to inflate the tire to the recommended pressure. Check the tire for any bulges or unevenness. Spin the tire to ensure it is properly balanced. If there are any bulges, it may indicate a problem with the tube or the tire itself and should be replaced. Balancing the tire is important to ensure a smooth ride and prevent unnecessary wear and tear.
If the tire is not balanced, it may result in vibrations and decreased performance. Balance the tire by adding or removing weights as needed. A balanced tire will improve the overall handling and safety of the dirt bike. Make sure to regularly inspect and maintain the tire and tube to ensure optimal performance and longevity.
Reinstalling The Wheel
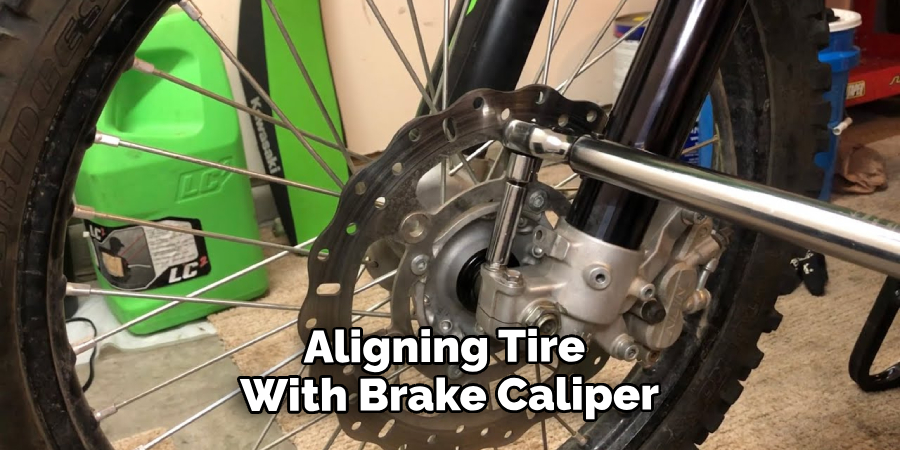
To reinstall the wheel on your dirt bike, start by aligning the tire with the brake caliper. Make sure it is properly seated before proceeding. Once aligned, tighten the wheel axle nut or bolts according to the manufacturer’s specifications. This will ensure that the wheel is securely attached to the bike. Installing the wheel correctly is essential for safe and optimal performance of your dirt bike. Take your time and double-check that the wheel is aligned and tightened properly before continuing your ride. With these steps, you can easily reinstall the wheel and get back to enjoying your dirt bike adventures.
Testing The Repair
Inflate the tire fully and check for any leaks. Ensure that the tire is properly inflated by using a tire gauge, and if needed, add more air until it reaches the recommended pressure. Look for any visible signs of leaks, such as hissing sounds or bubbles forming on the surface of the tube. If you notice any leaks, mark them with a pen or chalk so that you can easily locate them later.
Take a short test ride to ensure the tire is functioning properly. Get on the bike and ride it for a short distance, paying attention to how the tire feels and performs. Observe if there are any noticeable issues, such as the tire feeling wobbly or the bike handling differently. If everything seems to be in order, then you have successfully changed the dirt bike tube!
Maintenance Tips
- Regularly inspect your tires for signs of wear or damage.
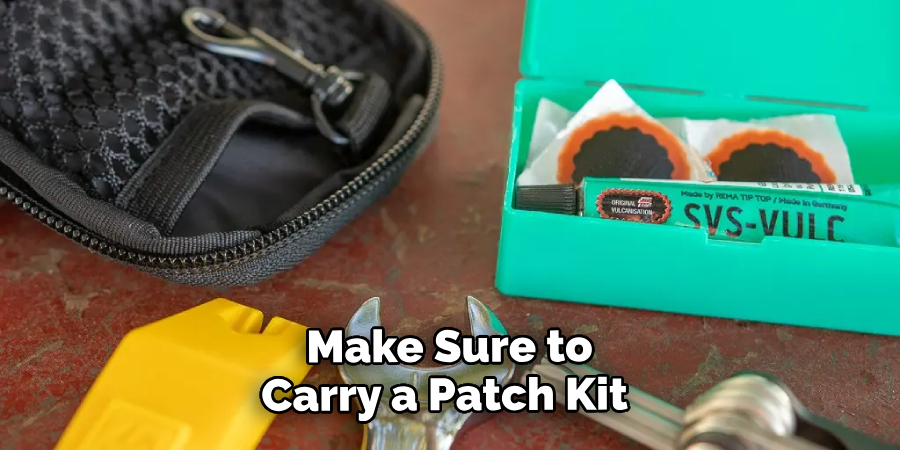
- Always carry a patch kit or spare tube for emergency repairs.
- Replace your tubes as soon as they show signs of wear or damage.
When it comes to keeping your dirt bike in top condition, it’s important to pay attention to your tires. Regularly inspecting them is crucial to ensure they are in good shape and ready for your next ride. Look out for any signs of wear or damage, such as cracks or cuts in the rubber. If you notice any issues, it’s best to replace your tubes as soon as possible to prevent further damage or blowouts.
Additionally, always make sure to carry a patch kit or spare tube with you when you hit the trails. This will come in handy for any emergency repairs that may be needed. If you do end up needing to use a patch kit, follow the instructions carefully to ensure a proper repair.
In conclusion, proper maintenance of your dirt bike tires, including regular inspections and timely tube replacements, is key to enjoying a safe and smooth ride. Stay proactive and prepared, and you’ll be ready to tackle any off-road adventure that comes your way.
Frequently Asked Questions On How To Change A Dirt Bike Tube
How Often Should I Change A Dirt Bike Tube?
It is recommended to change a dirt bike tube every 6 to 12 months, depending on usage and condition. Regular inspection for wear, punctures, and cracks can help determine if it needs replacement sooner.
What Tools Do I Need To Change A Dirt Bike Tube?
To change a dirt bike tube, you will need tire levers, a valve stem tool, a bike pump, and a patch kit for emergencies. Having these tools readily available will make the process easier and faster.
What Is The Process Of Changing A Dirt Bike Tube?
To change a dirt bike tube, start by deflating the tire and removing it from the rim. Use tire levers to carefully remove one side of the tire from the rim. Replace the old tube with a new one, making sure it is properly aligned.
Inflate the tire and check for any leaks or issues before riding.
How Do I Find The Correct Size Of A Dirt Bike Tube?
To find the correct size of a dirt bike tube, check the sidewall of your tire for markings indicating the tire’s size. Look for a combination of numbers that represent the tire’s width, aspect ratio, and diameter. Choose a tube that matches these specifications for a proper fit.
Conclusion
To wrap up, changing a dirt bike tube is an essential skill for any rider. By following these step-by-step instructions, you can easily replace a flat or damaged tube and get back on the trails. Remember to prioritize safety, gather the necessary tools, and take your time during the process.
With practice, this task will become second nature, allowing you to enjoy your dirt bike adventures hassle-free. Happy riding!