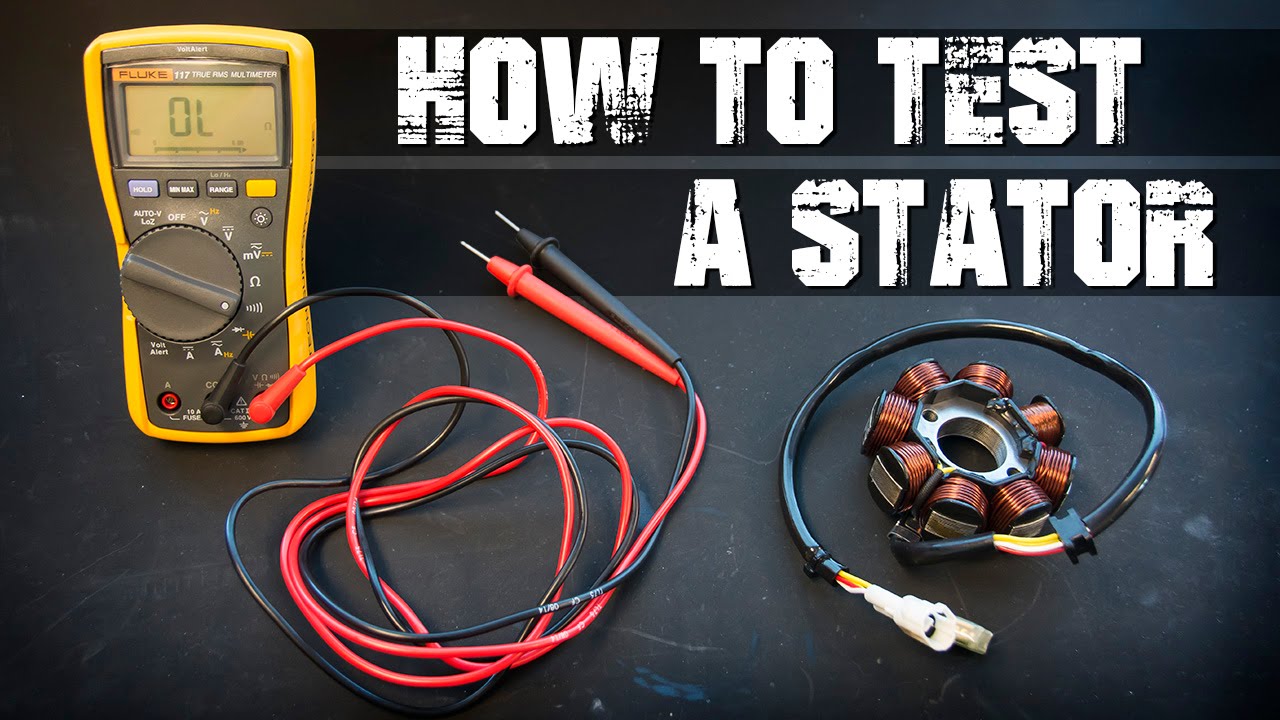
To test a stator with a multimeter, set the multimeter to the resistance mode and measure the resistance between each pair of stator pins. If the resistance values are within the specified range for your specific stator model, the stator is functioning properly.
A stator is a crucial component of many electrical devices, including generators, alternators, and motors. It produces the magnetic field necessary for these devices to function efficiently. Over time, the stator may develop faults or malfunctions, resulting in electrical issues.
To diagnose these problems, testing the stator with a multimeter is essential. This simple and effective process helps determine whether the stator is operating correctly or requires repairs. We will guide you through the process of testing a stator using a multimeter, allowing you to accurately identify any potential issues and take appropriate action to rectify them.
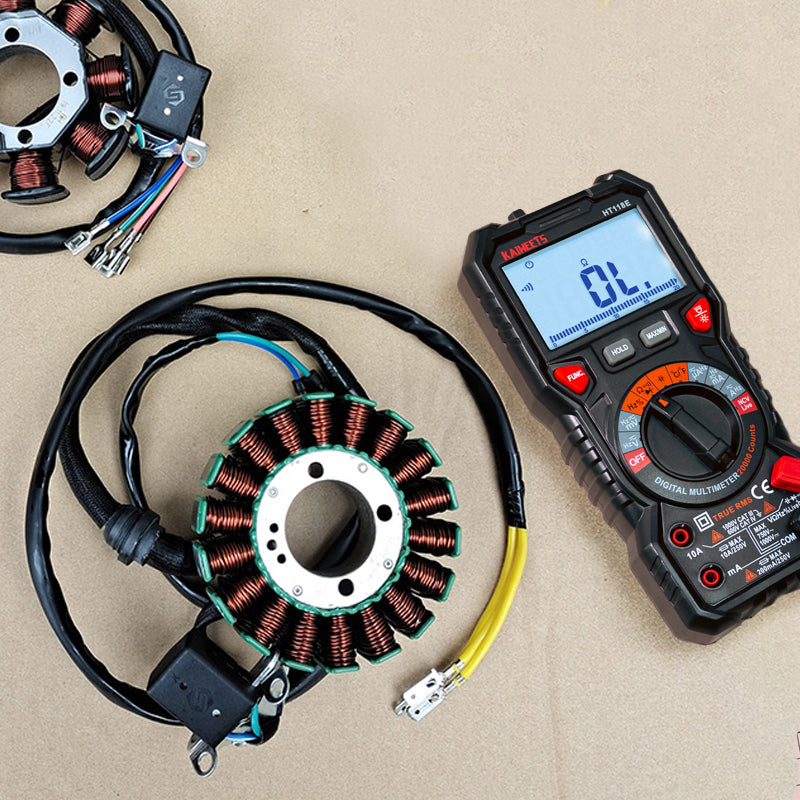
Credit: kaiweets.com
Benefits Of Testing Stators
Testing the stator of your electrical motor using a multimeter can offer several advantages. By doing so, you can increase **safety** by identifying any potential issues before they lead to accidents or electrical failures. Regular stator testing as a part of **preventative maintenance** can help keep your equipment running smoothly and avoid unexpected breakdowns.
Moreover, by detecting any faults at an early stage, you can save on **costs** that may arise from extensive repairs or replacement of damaged components. Testing the stator with a multimeter allows you to pinpoint any issues such as short circuits or open circuits, enabling you to take prompt action and **save money** in the long run.
Tools Needed For Testing A Stator
- Multimeter
- Safety Gloves
- Safety Glasses
When testing a stator, it is important to have the right tools on hand. One essential tool is a multimeter, which allows you to measure electrical current, voltage, and resistance. It is a versatile device that can provide accurate readings for testing a stator.
In addition to a multimeter, safety gloves are necessary to protect your hands from any electrical shocks or burns. Remember that the stator deals with high voltage, so wearing safety gloves is vital to ensure your safety.
Furthermore, safety glasses are critical to shield your eyes from any potential debris or sparks. When testing a stator, there is always a risk of electrical sparks or particles flying around. Wearing safety glasses will safeguard your eyes and prevent any potential injuries.
How to Test a Stator With a Multimeter: Step by Step Guide
Prepare For Testing
- Gather Required Tools
Before testing a stator with a multimeter, it’s important to disconnect the power source to ensure safety. This step will help prevent any electrical accidents or damage. Additionally, donning appropriate safety gear, such as gloves and safety goggles, is crucial to protect yourself from potential hazards.
Set Up The Multimeter
To test a stator with a multimeter, it is crucial to set up the multimeter correctly. First, choose the correct setting on the multimeter. Consult the manufacturer’s instructions or the user manual to determine the appropriate setting for testing the stator. Then, adjust the test leads of the multimeter. Ensure that the leads are securely connected to the appropriate terminals on the stator. Take extra caution to prevent any loose or faulty connections that may affect the accuracy of the test results.
Next, zero the multimeter before conducting the test. This step ensures that the multimeter is calibrated correctly, providing accurate readings. To zero the multimeter, make sure the leads are not touching each other or any other conductive material. Use the zero adjustment knob or button on the multimeter to reset the display to zero. It is essential to zero the multimeter before each test to obtain reliable measurements.
Test The Stator
Testing a stator with a multimeter is a crucial step in diagnosing electrical issues in your vehicle. To begin, you need to identify the stator wires. Look for three wires that come out of the stator and connect to the regulator/rectifier. Once you’ve located the wires, connect the test leads of the multimeter to the stator wires. Ensure that the multimeter is set to measure AC voltage.
Start the engine and rev it up to around 5000 RPM. Check the readings on the multimeter, which should ideally be between 20 to 70 volts AC. If the readings are within this range, the stator is functioning properly. If the readings are outside of this range or show no voltage at all, it indicates a potential problem with the stator and further troubleshooting is necessary.
Troubleshooting
Testing a stator with a multimeter is an essential troubleshooting step. By following a few simple steps, you can determine whether the stator is faulty or functioning properly. Start by disconnecting the stator from the electrical system and setting your multimeter to the resistance or ohms setting. Connect the multimeter leads to the stator wires and measure the resistance values according to the manufacturer’s specifications. If the resistance values are within the acceptable range, the stator is likely functioning correctly.
However, if the resistance values are outside the specified range, this indicates a potential issue with the stator. Possible issues could include a broken wire, short circuit, or damaged winding. In such cases, consulting a professional or referring to an electrical diagram can help you find the appropriate solutions. Remember, if necessary, rerun the test after attempting any repairs to ensure the stator is working effectively.
Record And Evaluate Results
Once you have completed the stator testing process, it is crucial to document the readings in order to analyze them accurately. Record the measurements obtained from testing each individual coil as well as any anomalies or irregularities observed during the test. This documentation will serve as valuable reference material for future troubleshooting or comparisons.
Analyze the Results
After recording the readings, it’s time to analyze the results. Look for any significant deviations from the expected values as specified by the manufacturer or industry standards. Compare the recorded measurements to the acceptable ranges provided in technical documentation or consult a reputable resource for guidance. Identifying any abnormalities will help you identify potential issues with the stator and determine whether further testing or repairs are necessary.
Regular Testing Schedule
Regular testing of a stator with a multimeter is essential to ensure its optimal performance. By following a consistent testing schedule, you can detect potential issues early on and prevent major breakdowns. The frequency of testing depends on various factors such as the stator’s usage, environmental conditions, and the manufacturer’s recommendations.
Consistency is crucial when it comes to stator testing. Performing tests at regular intervals helps to accurately assess any changes in performance over time. It allows you to identify any emerging problems and take appropriate measures to rectify them promptly.
Understanding Stator Readings
When testing a stator with a multimeter, it is essential to understand the voltage and resistance values that you should be looking for. Voltage values can vary depending on the make and model, so it’s crucial to consult the manufacturer’s specifications or a reputable guide for accurate readings. Generally, you would expect to see voltage values ranging from 12 to 20 volts, depending on the stator.
Interpreting Abnormal Readings
If you encounter abnormal readings while testing your stator, it could indicate a potential problem. Low voltage readings may suggest a weak stator winding, loose or corroded connections, or a faulty regulator/rectifier. On the other hand, high voltage readings may indicate a shorted stator winding or a problem with the regulator/rectifier.
Remember, proper test procedures and safety precautions should always be followed when testing a stator with a multimeter. If you are unsure or need assistance, it is recommended to consult a qualified professional for accurate diagnosis and repairs.
Safety Precautions
Safety is of utmost importance when handling high voltage equipment, such as a stator. This includes taking necessary precautions to protect yourself from potential hazards. When working with a multimeter to test a stator, follow these safety guidelines:
- Always wear personal protective equipment (PPE) like insulated gloves and safety glasses to protect yourself from electrical shock.
- Ensure that the multimeter is rated for the voltage and current levels you will be testing.
- Before starting, make sure the equipment is powered off and disconnected from any power source.
- Carefully inspect the stator and surrounding area for any signs of damage or wear.
- Establish and maintain a safe work environment by keeping the area clean and dry, free from any potential trip hazards.
- Follow the manufacturer’s instructions and recommended testing procedures to accurately measure the stator’s electrical output.
By following these safety precautions, you can confidently and safely test a stator using a multimeter. Remember, safety should always be your top priority when working with high voltage equipment.
Frequently Asked Questions Of How To Test A Stator With A Multimeter
How Can I Tell If My Stator Is Bad?
To determine if your stator is bad, check for signs such as no spark, weak or intermittent spark, or a high resistance reading on a multimeter. Replace if necessary.
How Do You Test A Motorcycle Stator With A Multimeter?
To test a motorcycle stator with a multimeter, follow these steps: 1. Set your multimeter to the resistance or ohms setting. 2. Disconnect all wires from the stator. 3. Connect the multimeter probes to the stator’s terminals. 4. Check for resistance readings within the specified range for your motorcycle’s stator.
What Voltage Is A Stator Test?
A stator test is typically done at a voltage level specified by the manufacturer.
How Do I Test My Stator?
To test your stator, follow these steps: 1. Disconnect the stator from the electrical system. 2. Measure the resistance between the stator leads using a multimeter. 3. Compare the readings with the specifications provided by the manufacturer. 4. If the readings are outside the specified range, it indicates a faulty stator.
Conclusion
To conclude, testing a stator with a multimeter is an essential skill that every motorcycle or small engine owner should possess. Knowing how to diagnose stator issues can save you time, money, and frustration. By following the simple steps outlined in this guide, you can confidently determine if your stator is functioning properly or if it needs to be replaced.
Remember to always prioritize safety when working with electrical components, and double-check your connections and measurements to ensure accurate results. Regularly testing your stator will help you avoid unexpected breakdowns and ensure the smooth operation of your vehicle or equipment.
So, don’t hesitate to grab your multimeter and start testing your stator today. Your machine will thank you for it!