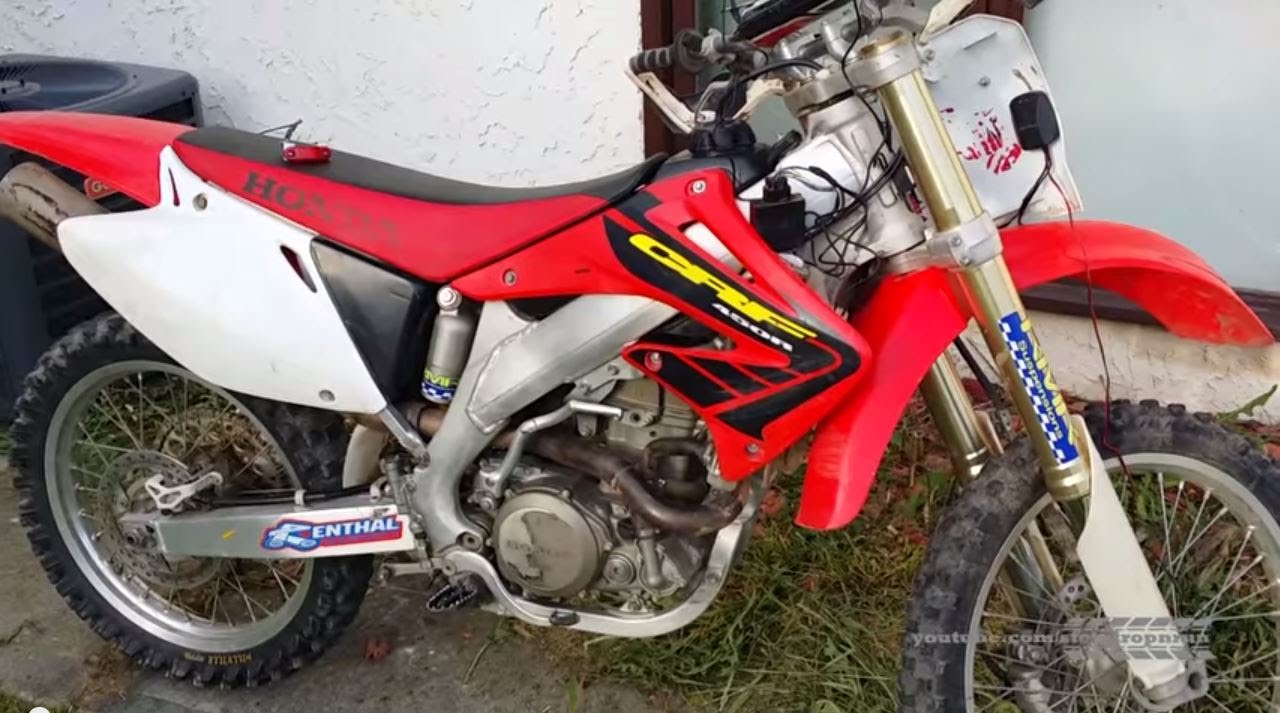
To put lights on a dirt bike, you need to purchase a dirt bike lighting kit and follow the instructions for installation.
Credit: www.reddit.com
Essential Equipment For Dirt Bike Lights
| Essential Equipment for Dirt Bike Lights | |
| Headlights | Headlights are a crucial component of dirt bike lights, providing illumination when riding in low light or dark conditions. LED headlights are preferred due to their brightness, efficiency, and durability. |
| Taillights | Taillights enhance visibility for other riders and vehicles, helping to prevent accidents. LED taillights are commonly used as they offer bright illumination and consume less power. |
| Turn signals | Turn signals are essential for indicating changes in direction and alerting other riders and drivers. LED turn signals are commonly used for their high visibility and low power consumption. |
| Wiring harness | A wiring harness is necessary to connect the lights to the bike’s electrical system. It ensures a secure and organized connection, preventing wire damage and short circuits. |
| Battery pack | A battery pack powers the lights when the dirt bike is not running. Lithium-ion battery packs are popular for their lightweight design, long-lasting performance, and rechargeable capabilities. |
| Mounting brackets | Mounting brackets secure the lights to the dirt bike, ensuring stability and proper positioning. Sturdy and adjustable brackets are preferred for easy installation and flexibility. |
How to Put Lights on a Dirt Bike: Step by Step Guide
Choosing The Right Lights
Choosing the right lights for your dirt bike is crucial to ensure a safe and enjoyable riding experience. When considering the type of riding you do, **think about whether you mainly ride on trails or in open areas**. For trail riding, opt for lights with a narrower beam pattern that can provide focused illumination to spot obstacles and navigate tight corners. On the other hand, if you often ride in open areas, lights with a wider beam pattern can be advantageous for better peripheral visibility.
**Evaluate your budget** to determine the lights that best fit within your price range. Keep in mind that more expensive doesn’t always mean better quality, so do some research and read reviews to find the best value for money. Checking the brightness and beam pattern is also essential. Look for lights that offer **sufficient brightness** to ensure good visibility during night rides.
Additionally, **pay attention to the beam pattern**. Lights with a spot beam are ideal for long-distance illumination, while lights with a flood beam are suitable for wide coverage in shorter distances. Lastly, consider lights that are **durable and weather-resistant**. Riding off-road can be demanding, so it’s important to choose lights that can withstand rough conditions and be resistant to water and dust.
Installing The Headlights
Gather the necessary tools and equipment for installing the headlights on your dirt bike. Make sure you have a screwdriver, socket set, and wire connectors handy. Begin by removing the headlight mask or fairing to access the headlight housing.
Next, carefully mount the headlight housing onto the front of the dirt bike. Ensure it is positioned securely and aligns properly with the bike’s frame.
Connect the wiring harness to the headlight, ensuring that each wire is properly connected and secured. Use wire connectors if needed to establish a solid connection.
Once the wiring is complete, secure the headlight in its designated place using the appropriate screws or bolts.
Finally, test the functionality of the headlights to ensure they are working properly. Turn on the bike and check that both high and low beams are functioning as intended.
Installing The Taillights And Turn Signals
Installing taillights and turn signals on a dirt bike can enhance its safety and visibility on the road. Start by removing the rear fender carefully. This will provide access to the area where the taillight assembly will be mounted. Following the manufacturer’s instructions, mount the taillight assembly securely on the dirt bike. Once mounted, it’s essential to connect the wiring for the taillights correctly.
Next, proceed with installing the turn signals. Position them appropriately on the rear of the dirt bike, ensuring they are visible to other motorists. Again, consult the manufacturer’s instructions for proper installation. Afterward, you’ll need to connect the wiring for the turn signals by following the color-coding or wiring diagram provided. Take extra care to avoid any crossed wires or loose connections.
Lastly, reinstall the rear fender, making sure it is securely fastened. This step will protect the wiring connections and provide a finished look to your dirt bike. With your taillights and turn signals properly installed, you can now confidently ride your dirt bike, knowing that other road users can see you clearly.
Wiring The Lights To The Battery
Wiring the lights to the battery on your dirt bike requires careful attention to detail. First, determine the best location for the battery pack to ensure optimal functioning. Once you have selected the spot, securely install the pack, making sure it is tightly fastened. Next, connect the wiring harness to the battery, ensuring a secure connection. Then route the wires along the bike’s frame, keeping them tidy and organized.
Use zip ties to secure the wires in place, preventing any unnecessary movement or potential damage. Finally, test the lights to make sure they are receiving power properly. This step ensures that your lights will function effectively and provide the necessary illumination for your dirt bike adventures.
Mounting And Adjusting The Lights
When installing lights on a dirt bike, it’s crucial to choose suitable mounting brackets that can securely hold the lights in place. Attach the lights to the mounting brackets using the provided hardware, ensuring a tight and secure fit.
Next, it’s important toadjust the lights’ angle and direction to optimize their visibility. This can be done by loosening the bracket bolts and rotating the lights accordingly. Once in the desired position, tighten the brackets securely to maintain stability.
After mounting and adjusting the lights, it’s vital to check their visibility and aim. Turn on the lights and test if they illuminate the intended area effectively. Make any necessary adjustments to ensure maximum visibility while riding.
| Step 1 | Choose suitable mounting brackets |
| Step 2 | Attach lights to the mounting brackets |
| Step 3 | Adjust lights’ angle and direction |
| Step 4 | Tighten the brackets securely |
| Step 5 | Check the lights’ visibility and aim |
Troubleshooting And Maintenance
When it comes to troubleshooting and maintenance of your dirt bike lights, it is essential to identify and fix any wiring or connection issues. Check for loose or damaged wires, ensuring they are securely connected. If you encounter faulty lights or components, replace them as soon as possible to maintain optimal visibility during your rides. Regularly inspect and clean the lights, including the lenses, to remove any dirt or grime that can affect their brightness.
Before each ride, ensure the lights are functioning correctly by testing them. This will help you avoid any potential issues when riding at night or in low light conditions.
Frequently Asked Questions Of How To Put Lights On A Dirt Bike
Can You Add Lights To A Dirt Bike?
Yes, lights can be added to a dirt bike for enhanced visibility and safety.
How Do You Put Lights On A Bike?
To put lights on a bike, follow these steps: 1. Choose bike lights that are suitable for your needs. 2. Attach the front light to the handlebars and the rear light to the seat post. 3. Secure the lights tightly and adjust their angles for better visibility.
4. Test the lights to ensure they are functioning properly.
Do Dirt Bikes Have Headlights?
Yes, dirt bikes have headlights. They are equipped with these lights for better visibility during nighttime rides.
How Many Watts Does It Take To Run A Dirt Bike?
A dirt bike requires different wattages depending on the model and usage. Typical dirt bikes range from 500 to 2000 watts.
Conclusion
Adding lights to your dirt bike is not only a practical safety measure but also a fun and stylish upgrade. By following the steps outlined in this guide, you will be able to enhance your visibility on the road, whether it be during nighttime rides or in low-light conditions.
Moreover, installing lights on your dirt bike can open up new possibilities for adventure, allowing you to explore trails and pathways that were previously inaccessible. Remember to consider your specific needs and preferences when selecting lights, ensuring they are durable, waterproof, and suitable for off-road use.
Proper installation is key, so take your time and follow the instructions carefully. With lights fitted on your dirt bike, you can ride with confidence and enjoy the thrill of night time adventures. Don’t let darkness limit your riding possibilities – light up your dirt bike and take your off-road experience to a whole new level!