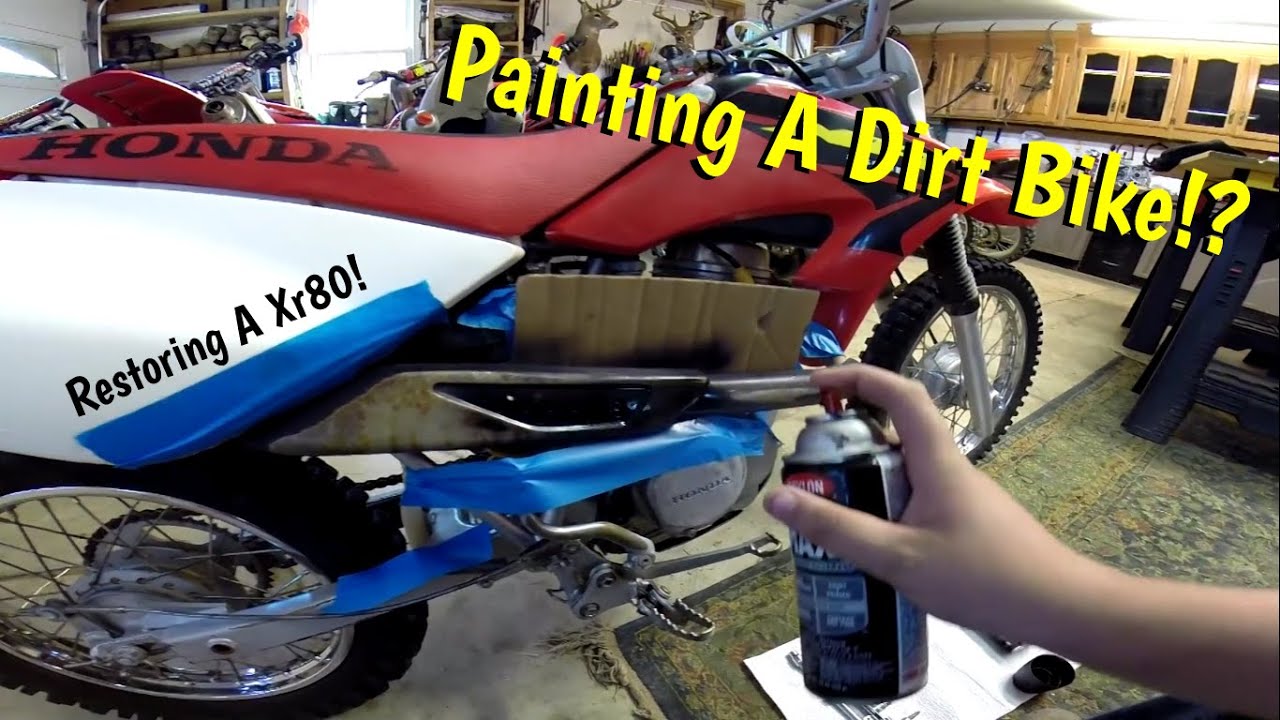
To paint dirt bike plastics, clean the surface thoroughly and apply a primer before using spray paint for a smooth and durable finish. Are you looking to give your dirt bike plastics a fresh new look?
Painting dirt bike plastics can be a cost-effective way to restore or customize your bike’s appearance. With a few simple steps and the right materials, you can easily transform your bike’s plastics to make it stand out on the track or trails.
By following these instructions, you’ll be able to achieve a professional-looking paint job that not only enhances the aesthetics but also protects the plastics from wear and tear. We’ll guide you through the process of painting dirt bike plastics, from preparing the surface to applying the final coat of paint. So let’s dive in and get started on revamping your ride.
How to Paint Dirt Bike Plastics: Step by Step Guide
Preparing The Plastics
Cleaning the dirt bike plastics: Before you start painting the dirt bike plastics, it’s important to ensure they are clean and free from dirt, grease, and grime. Use a mild dish soap and water solution to clean the plastics thoroughly. Scrub gently with a soft-bristled brush to remove any stubborn dirt. Rinse off the soap residue and allow the plastics to dry completely.
Sanding the plastics for better adhesion: Once the plastics are clean and dry, sanding them will help the paint adhere properly. Use a fine-grit sandpaper to lightly sand the surface of the plastics. This will create a rough texture that the paint can grip onto. Be sure to sand all areas evenly and remove any glossy finish. After sanding, wipe away any dust with a clean, damp cloth.
Applying Primer
Choosing the right primer for dirt bike plastics:
When it comes to painting dirt bike plastics, applying primer is a crucial step. Choosing the right primer is essential to achieve a professional-looking finish. Here are some key points to consider:
| Type of Primer | Benefits |
| Plastic Primer | Specifically formulated for adhesion to plastics, ensuring better paint bond and durability. |
| Automotive Primer | Provides excellent adhesion and corrosion resistance, which is ideal for dirt bike plastics exposed to outdoor conditions. |
| Epoxy Primer | Offers superior adhesion, protection against chemical damage, and a smooth finish. |
Applying primer to the plastics evenly:
Before applying the primer, ensure that the dirt bike plastics are clean and free from dust, grease, and dirt. Here’s how to apply the primer evenly:
- Start by shaking the primer can well to ensure proper mixing of the contents.
- Hold the can about 8-12 inches away from the plastics.
- Spray a thin, even coat of primer, moving the can in a sweeping motion.
- Allow the primer to dry completely before applying additional coats.
- If required, sand the primed surface lightly with fine-grit sandpaper for better paint adhesion.
Following these guidelines will help you choose the right primer for your dirt bike plastics and achieve a smooth and professional paint finish.
Painting The Plastics
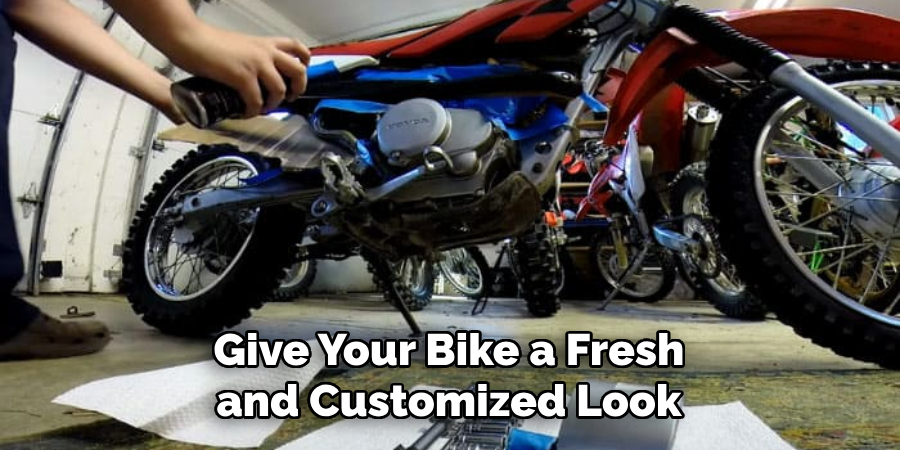
Painting dirt bike plastics is a great way to give your bike a fresh and customized look. To achieve the best results, selecting the right paint is crucial. It is recommended to use a durable and flexible paint specifically designed for plastics. Such paint provides excellent adhesion and ensures long-lasting results even under tough conditions.
Before painting, it is important to clean the plastics thoroughly and make sure they are free of any dirt, grease, or debris. Applying layers of paint is essential to achieve a smooth and even finish. Start with a primer to promote adhesion, then apply thin coats of paint, allowing each layer to dry before applying the next.
When applying the paint, using techniques such as even and consistent strokes and maintaining a suitable distance from the plastics can help achieve a professional look. Additionally, it is important to follow the manufacturer’s instructions regarding drying times and recommended number of coats.
By following these tips and using the right paint and techniques, you can successfully paint your dirt bike plastics and give your bike a fresh and appealing appearance.
Curing And Sealing The Paint
Once you have applied paint to your dirt bike plastics, it is crucial to allow it to cure properly before proceeding. **Curing** refers to the process of drying and hardening the paint. This ensures its longevity and durability. **Avoid rushing** this step as it may lead to paint damage or imperfections.
One way to expedite proper curing is by providing adequate **drying time**. **Follow** the paint manufacturer’s instructions regarding the required duration for optimal results. **Keep** in mind that environmental conditions, such as humidity and temperature, can affect this process. So, it’s important to **consider** these factors.
Another step to ensure the longevity of the paint is **applying a clear coat**. This protective layer acts as a shield against scratches, UV rays, and other elements that could damage the paint job. **Make sure** to choose a high-quality clear coat product specifically designed for use on plastics.
By allowing the paint to cure properly and applying a clear coat, you can **enhance the durability** of your dirt bike plastics’ new paint job. **Remember** to follow these steps diligently for a professional-looking and long-lasting finish.
Tips For A Successful Paint Job
When painting dirt bike plastics, it’s important to follow certain guidelines for a successful paint job. First and foremost, ensure that you are using proper safety equipment. This includes wearing gloves, goggles, and a respirator to protect yourself from harmful fumes and chemicals.
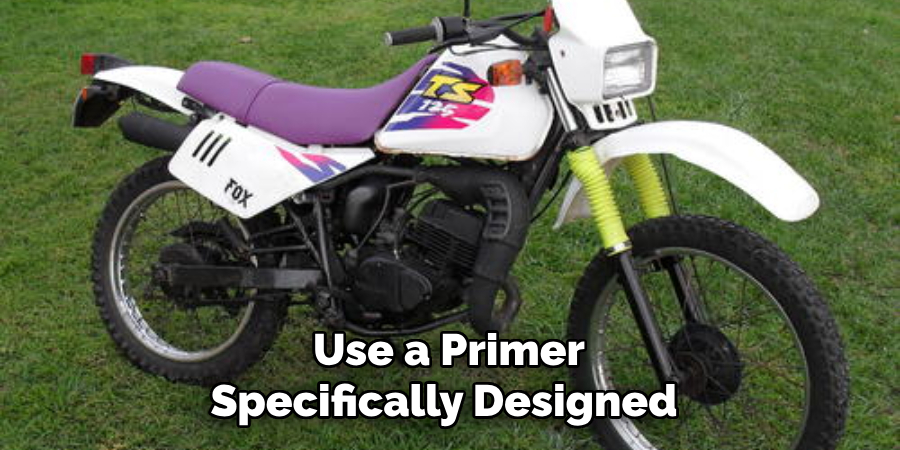
Additionally, avoid common mistakes that can ruin your paint job. Make sure to properly prepare the plastics by cleaning them thoroughly and sanding any rough surfaces. Use a primer specifically designed for plastics to ensure proper adhesion. When applying the paint, remember to use light, even coats, allowing each coat to dry before applying the next. This will help prevent paint runs and drips.
Moreover, choose a suitable paint type for dirt bike plastics. Acrylic enamel or urethane-based paints are commonly recommended for their durability and flexibility. Consider using a paint gun or spray can for a smoother and more professional finish. Finally, apply a clear coat to protect the paint and enhance its longevity.
Maintenance And Touch-Ups
When it comes to painting dirt bike plastics, maintenance and touch-ups play a crucial role in keeping them looking their best. Cleaning and maintaining painted dirt bike plastics is essential to ensure longevity and a pristine appearance. Regularly wash the plastics with mild soap and water, using a soft cloth or sponge to remove dirt and debris. Avoid harsh chemicals that can damage the paint.
For touch-ups and repairs, start by lightly sanding the damaged area with fine-grit sandpaper. Clean the surface and apply a primer before applying the matching paint color in thin and even coats. Allow each coat to dry before applying the next. Finally, seal the painted plastic with a clear coat for added protection. Remember to follow the manufacturer’s instructions and use high-quality products for the best results.
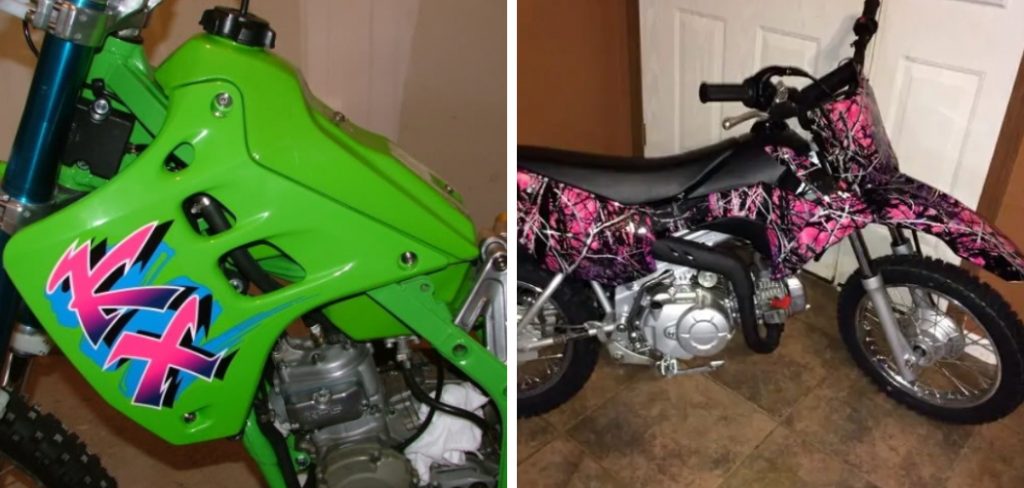
Showcasing Your Custom Plastics
Painting dirt bike plastics is a great way to showcase your custom style. Adding decals or graphics can give your bike a personalized look that stands out from the crowd. To ensure that your paint job lasts longer, proper care is essential.
Before painting, make sure to clean the plastics thoroughly to remove any dirt or grease. Sanding the surface lightly will create a better bond for the paint. Applying a primer specifically designed for plastic surfaces will also help the paint adhere properly.
Once the surface is prepared, choose a high-quality paint suitable for plastics. Apply multiple thin coats, allowing each coat to dry completely before applying the next. This will prevent drips and give a smooth finish. Finally, apply a clear coat to protect the paint from scratches and UV damage.
Regular maintenance is important to keep your painted plastics looking their best. Avoid using abrasive cleaners that can damage the paint. Instead, clean with a mild soap and water solution and gently wipe dry.
| Proper Care Tips for Painted Dirt Bike Plastics |
|---|
| Clean the plastics thoroughly to remove dirt and grease |
| Lightly sand the surface to improve paint adhesion |
| Apply a plastic primer for better paint adherence |
| Choose a high-quality paint designed for plastics |
| Apply multiple thin coats, allowing each coat to dry completely |
| Protect the paint with a clear coat |
| Avoid using abrasive cleaners, clean with mild soap and water |
| Regularly maintain the painted plastics |
Frequently Asked Questions Of How To Paint Dirt Bike Plastics
How Do You Prepare Dirt Bike Plastics For Painting?
To prepare dirt bike plastics for painting, start by cleaning them thoroughly with soap and water. Then, sand the surface lightly using fine-grit sandpaper to create a smooth finish. Apply a primer to help the paint adhere better, and finally, spray on your desired color of paint in thin, even coats.
What Type Of Paint Should I Use For Dirt Bike Plastics?
When painting dirt bike plastics, it is important to use paint specifically formulated for plastic surfaces. Look for paints labeled as “plastic paint” or “plastic primer. ” These paint formulations are designed to adhere to plastic surfaces and provide a long-lasting, durable finish.
How Long Does It Take For Painted Dirt Bike Plastics To Dry?
The drying time for painted dirt bike plastics can vary depending on the type of paint used and environmental conditions. In general, it is recommended to allow the paint to dry for at least 24 hours before handling or reassembling the bike.
Ensure proper ventilation and follow the manufacturer’s instructions for optimal drying time.
Conclusion
To sum up, painting dirt bike plastics is a simple yet effective way to revamp the appearance of your bike. By following the steps outlined in this guide, you can achieve professional-looking results that will make your dirt bike stand out from the rest.
Remember to properly prepare the surface, choose the right paint and technique, and take your time for a flawless finish. With a fresh coat of paint, your dirt bike plastics will not only look great but also be protected from harsh elements.
Start painting and enjoy the ride!