To paint a dirt bike helmet, start by cleaning the helmet and removing any dirt or debris. Next, sand the surface to create a smooth base for painting.
Apply a primer and let it dry before applying the first coat of color. Repeat this process with additional coats as needed, allowing each coat to dry completely. Finally, finish with a clear coat for protection. Painting a dirt bike helmet can be a fun and creative way to personalize your gear.
Whether you want to match your bike or express your style, a fresh coat of paint can give your helmet a brand-new look. However, it’s important to approach this task with caution, as it involves potentially harmful chemicals and requires careful preparation. We will provide you with a concise guide on how to paint a dirt bike helmet, from preparing the surface to applying the final clear coat. So, let’s dive in and revamp your helmet with some color and personality!

Credit: www.vitalmx.com
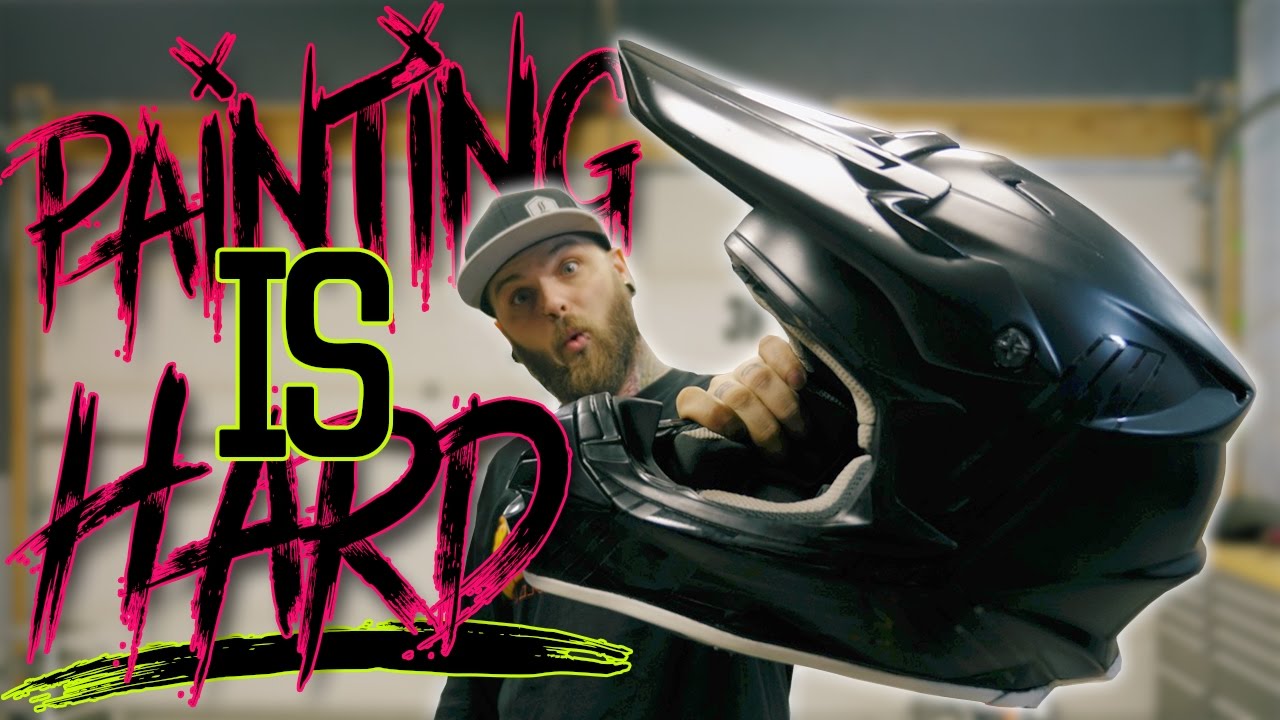
How to Paint a Dirt Bike Helmet: Step by Step Guide
Choosing The Right Helmet Design
The process of painting a dirt bike helmet starts with choosing the right design that suits your personality and preferences. Researching and exploring different options for helmet design is essential to find the one that stands out and represents your style. When selecting a design, consider factors such as color schemes, patterns, and graphics that will match your bike and gear.
Look for designs that are visually appealing and showcase your individuality. It’s important to ensure that the design you choose is not only aesthetically pleasing but also meets safety standards and regulations. Be sure to select a design that will not compromise the helmet’s protective capabilities.
Preparing The Helmet For Painting
Gather the necessary materials and tools for painting the dirt bike helmet. Some of the items you will need include:
- Sandpaper or sanding block.
- Paint stripper or remover.
- Clean cloth or sponge.
- Masking tape.
- Plastic or newspaper for covering the surrounding area.
- Primer spray paint.
- Color spray paint of your choice.
- Clear coat spray paint for protection.
- Optional: Stencils, decals, or paint markers for designs.
Before painting, it is important to remove any existing paint or decals from the helmet. Use sandpaper or a sanding block to gently but thoroughly remove the old paint. You can also use a paint stripper or remover for stubborn areas. After removing the paint, clean the helmet surface with a clean cloth or sponge to ensure it is free from dust and debris.
Next, prepare the helmet surface for painting. Apply masking tape to areas you want to protect from paint, such as visor or vents. Cover the surrounding area with plastic or newspaper to catch any paint overspray. Now, you are ready to start painting your dirt bike helmet and add your own personal touch!
Applying Primer And Basecoat
When painting a dirt bike helmet, one important step is applying primer and basecoat. Before you start painting, it’s essential to use a primer. The primer helps the paint adhere to the helmet’s surface and provides a smooth base for the basecoat. Applying the primer correctly ensures better adhesion and durability of the paint job.
Here’s a step-by-step guide to applying primer on the helmet:
- Clean the helmet thoroughly to remove any dirt, grease, or grime.
- Sand the helmet lightly to create a rough surface for better adhesion.
- Apply the primer evenly using a spray gun or brush, following the manufacturer’s instructions.
- Allow the primer to dry completely before moving on to the basecoat.
Choosing the right basecoat color for your design is also crucial. The basecoat is the main color of the paint job, so it should complement your overall design idea. Consider factors such as your bike’s color, personal preferences, and any specific design elements you want to incorporate. Once you’ve chosen the perfect basecoat color, you can move on to the next steps in the helmet painting process.
Creating Your Design
When painting a dirt bike helmet, one of the first steps is to create a design that reflects your personal style. Sketching and planning your helmet design allows you to incorporate your unique ideas and customization options. You can start by brainstorming different concepts and elements that you want to include in your design. Once you have a rough idea, you can begin sketching it out on paper or using design software.
This process allows you to visualize how your design will look on the helmet and make any necessary adjustments. Consider exploring different techniques to create various effects and textures on your helmet. This could include using different painting techniques or adding elements like decals or stickers. By carefully planning and executing your design, you can create a customized helmet that showcases your individuality and style.
Painting Techniques
Using spray paint for smooth and even coverage: Spray painting is an effective technique for achieving a smooth and even finish on a dirt bike helmet. Begin by thoroughly cleaning the helmet and removing any existing paint or decals. Use a primer to create a smooth base for the paint, then apply several thin coats of spray paint, allowing each coat to dry before applying the next. This technique provides a professional-looking result and allows for creative customization.
Hand-painting and airbrushing techniques for intricate designs: For those looking to create intricate designs on their dirt bike helmet, hand-painting and airbrushing are ideal techniques. Start by sketching the design on paper, then transfer it onto the helmet. Use fine brushes and acrylic paints for precise hand-painting, or opt for an airbrush for a more detailed and professional look. These techniques allow for intricate detailing and personalized designs. Remember to seal the final design with a clear coat to protect the artwork.
Adding Details And Accents
When painting a dirt bike helmet, adding unique details and accents can greatly enhance the overall design. One technique that can be used is creating gradients, fades, and patterns. This involves blending different colors together to create a smooth transition or using masking techniques to create intricate designs.
Another option is to use stencils, which provide precision and allow for consistent patterns or shapes. By carefully selecting and positioning stencils, you can achieve professional-looking results. These techniques require patience and attention to detail, but they can take your helmet design to the next level.
Applying Clear Coat And Finishing Touches
Importance of applying a clear coat for protection and durability
Applying a clear coat to your dirt bike helmet is a crucial step in the painting process. The clear coat acts as a protective layer, shielding the helmet from scratches, UV rays, and other environmental damage. It also adds durability, ensuring that your new paint job stands the test of time. Without a clear coat, the paint may easily chip or fade over time, leaving your helmet looking worn out and vulnerable to damage.
Step-by-step guide to applying clear coat on the helmet:
1. Make sure your painted helmet is completely dry and free of any dust or debris.
2. Shake the clear coat can thoroughly to mix the contents.
3. Hold the can about 10-12 inches away from the helmet and spray a light, even coat over the entire surface.
4. Allow the first coat to dry for the recommended time mentioned on the clear coat can.
5. Apply additional coats as needed, making sure to let each coat dry before applying the next.
6. Once the final coat is dry, inspect the helmet carefully for any imperfections.
Final touches and adding any additional protective layers:
After applying the clear coat, you can give your helmet some finishing touches. This may include adding decals, stickers, or protective layers such as a paint sealant or wax. These additional layers will enhance the appearance of your dirt bike helmet and provide further protection against scratches and fading. Make sure to follow the instructions provided with any additional products you choose to use to ensure proper application and effectiveness.
Curing And Drying Process
Curing and drying the paint properly is crucial when it comes to painting a dirt bike helmet. Allowing the paint to properly cure and dry ensures a long-lasting and durable finish. Recommendations for the ideal curing time and conditions may vary depending on the type of paint used. It is important to carefully follow the manufacturer’s instructions to achieve the best results.
During the drying process, it is important to take precautions to avoid damaging the paint. Avoid exposing the helmet to extreme heat or direct sunlight, as this can cause the paint to crack or fade. Additionally, avoid touching or handling the helmet until it is completely dry to prevent smudges or fingerprints.
By following these guidelines, you can ensure that the paint on your dirt bike helmet cures and dries properly, resulting in a professional and long-lasting finish.
Helmet Care And Maintenance
Proper care and maintenance are essential to preserve the paint job on your dirt bike helmet. Regular cleaning and protection will help prevent scratches and wear, ensuring the longevity of the paintwork.
To clean your helmet, use a mild soap or helmet cleaner and a soft cloth. Gently wipe the surface, making sure not to scrub too harshly as it may damage the paint. Afterwards, apply a protective wax or polish to create a barrier against external elements that could harm the paint.
When it comes to touch-ups and repairs, it’s important to use the right materials. Keep your helmet’s paint code handy to ensure a perfect color match. For minor scratches, utilize touch-up paint and a fine brush. If there are larger areas requiring repair, consider seeking professional help from a helmet painting specialist. They can restore your helmet’s paintwork effectively.
|
Frequently Asked Questions On How To Paint A Dirt Bike Helmet
What Kind Of Paint Do You Use On A Helmet?
You should use helmet paint that is specifically designed for use on helmets.
Can You Spray Paint A Dirt Bike Helmet?
Yes, you can spray paint a dirt bike helmet.
Is It Ok To Paint A Bike Helmet?
Yes, it is safe and acceptable to paint a bike helmet if you follow these guidelines and avoid compromising its safety features.
Can I Spray Paint My Bike Helmet?
Yes, you can spray paint your bike helmet as long as you follow safety guidelines and use appropriate paints.
Conclusion
Painting a dirt bike helmet can be a fun and creative way to customize your gear and make it reflect your personal style. By following the steps outlined in this blog post, you can achieve a professional-looking paint job that not only looks great but also provides the necessary protection for your head.
Remember to thoroughly clean and prepare the helmet surface, choose the right type of paint and primer, apply multiple thin layers for a smooth finish, and let the paint cure properly. It’s also important to regularly inspect and maintain your painted helmet to ensure its longevity.
With a little time and effort, you can transform your plain dirt bike helmet into a unique and eye-catching piece that will turn heads on and off the track. So grab your supplies and get ready to unleash your creativity!