To make a dirt bike stand out of wood, you can follow these simple steps. First, gather the necessary materials and tools.
Then, measure and cut the wood to the desired dimensions. Next, assemble the pieces using screws or nails. Finally, paint or stain the wood to protect it and enhance its appearance. By following these steps, you can create a functional and visually appealing dirt bike stand using wood.

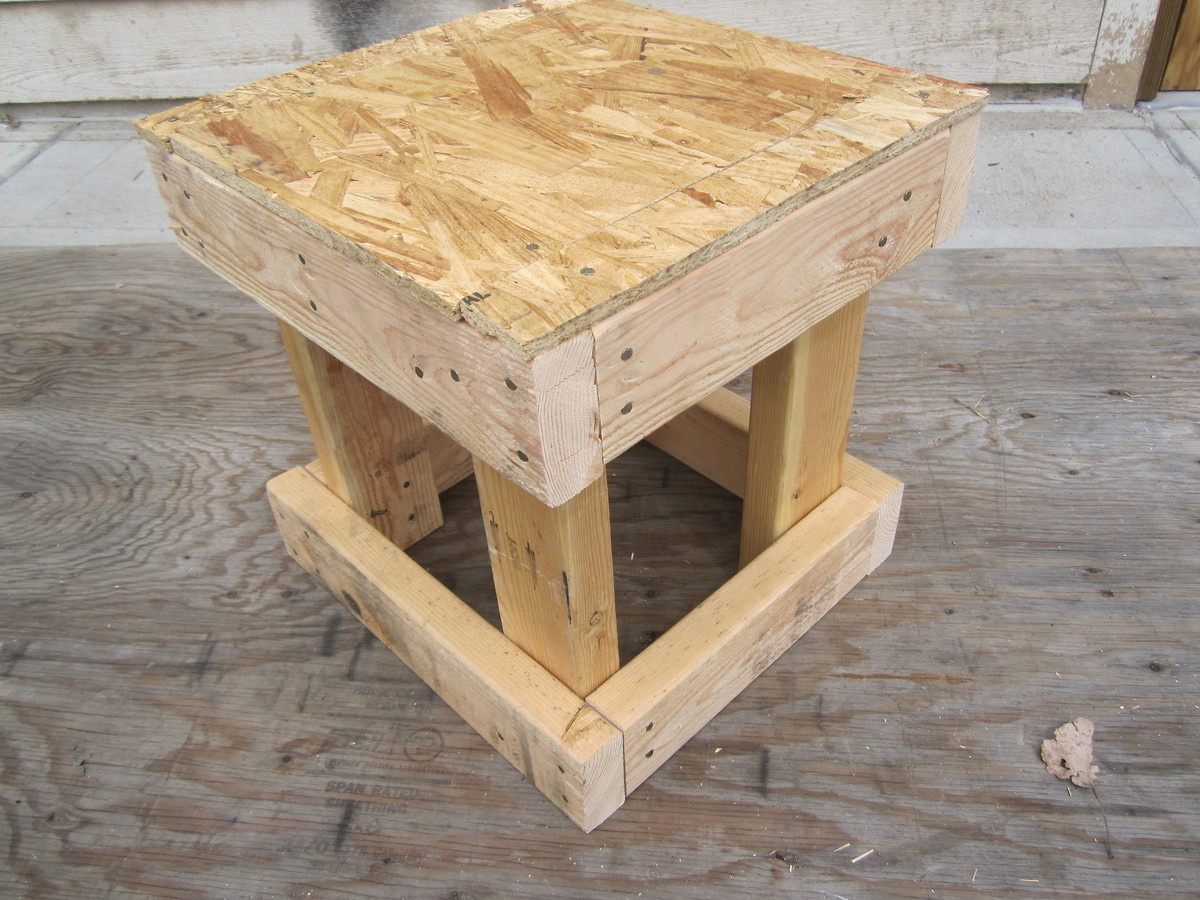
Credit: www.pinterest.com
Materials You Will Need
Wood planks: Choose sturdy and durable wood planks for your dirt bike stand. Opt for treated or pressure-treated lumber to ensure longevity.
Screws: Get screws of appropriate size and length to secure the wood planks together. Galvanized screws are recommended for outdoor use to prevent rusting.
Drill: A power drill will be essential for creating holes and attaching the screws. Make sure you have the necessary drill bits for your chosen screws.
Saw: Use a saw to cut the wood planks into the desired lengths and shapes. A circular saw or a miter saw will work well for this project.
Sandpaper: Smooth out any rough edges or surfaces using sandpaper. This will provide a polished finish and prevent splinters.
Measuring tape: Precise measurements are crucial for a well-built dirt bike stand. Use a measuring tape to ensure accurate dimensions throughout the construction process.
How to Make a Dirt Bike Stand Out of Wood: 8 Easy Steps
Step 1: Measurements And Planning
Measure your dirt bike’s dimensions to ensure the stand will be a perfect fit. Take note of the height, width, and length of your bike. These measurements will guide you in determining the size of the stand.
Once you have the measurements, it’s time to sketch a design for the stand. Consider the stability and functionality of the stand in your design. You can create a simple sketch on paper or use a digital design tool.
Think about the materials you will need. Wood is a popular choice for its durability and affordability. Look for sturdy pieces that can support the weight of your bike.
With the measurements and design in hand, you are ready to move on to the next step in constructing your DIY dirt bike stand.
Step 2: Cutting The Wood
For Step 2 of making a dirt bike stand out of wood, you will need to cut the wood planks according to the measurements. Ensure that you have accurate measurements before proceeding. Utilize a saw to make the necessary cuts. Start by marking the dimensions on the wood planks, and then carefully cut along those lines. Take your time to make precise cuts to ensure the pieces fit together properly.
Step 3: Assembling The Stand
If you want to learn how to make a dirt bike stand out of wood, assembling the stand is a crucial step. Lay out the wood pieces according to the design and make sure they are in the correct position before proceeding. Once you have the pieces ready, use a drill and screws to attach the pieces together. This will ensure that the stand is sturdy and able to support the weight of the bike effectively.
Step 4: Adding Support And Stability
Adding support and stability is a crucial step in making a dirt bike stand out of wood. To reinforce the stand, you will need to add additional support beams. These beams play a vital role in ensuring the stand can withstand the weight of the dirt bike and provide stability.
To secure the support beams, **use screws**. This will ensure that they are firmly attached to the stand and can effectively bear the weight of the bike. The screws should be tightened properly for added stability. Remember to choose screws that are appropriate for wood and can handle heavy loads.
Step 5: Sanding And Finishing
Smooth out any rough edges on the wood bike stand using sandpaper. This step will help create a clean and polished finish. Use a medium-grit sandpaper to sand down any rough spots or edges, making sure to blend them into the rest of the stand. Be sure to sand in the direction of the wood grain for the smoothest results.
Once the rough edges are smoothed, apply a wood finish or stain to enhance the look of your dirt bike stand. Choose a finish that is suitable for outdoor use to ensure durability. Apply the finish evenly, following the manufacturer’s instructions. Allow the finish to dry completely before using the stand.
Step 6: Test And Adjust
After completing the construction of your DIY dirt bike stand, it’s time to test and adjust it before using it with your dirt bike. Place the bike on the stand and make sure it fits securely. Check the stability of the stand and ensure it can support the weight of the bike without any wobbling. If you notice any issues with the height or stability, make necessary adjustments to improve it.
The stand should provide a stable and safe platform for storing or working on your dirt bike, so it’s important to thoroughly test it before relying on it. With the adjustments made, you can now confidently use your homemade wooden dirt bike stand.
Step 7: Maintenance And Care
Regularly inspect and tighten any loose screws to ensure the stability and safety of your homemade dirt bike stand. Loose screws can lead to accidents or damage to the wood. Cleaning and maintaining the wood is also essential for its durability. Use a soft cloth or brush to remove any dirt or debris from the surface.
Avoid using harsh or abrasive cleaners that can damage the wood. Applying a thin layer of wood polish or wax can help keep the stand looking shiny and new.
Step 8: Personalization And Customization
Painting or decorating your dirt bike stand is a great way to personalize and customize it. By adding some bold colors or unique designs, you can make your stand stand out from the rest. Consider using spray paint or acrylic paint to add a pop of color.
Additional features and accessories can also enhance the visual appeal and functionality of your homemade dirt bike stand. You can attach hooks, holders, or baskets to the stand to store tools, gloves, or other accessories. These additions not only make your stand more convenient but also add a touch of style.
When personalizing and customizing your dirt bike stand, remember to choose materials and finishes that are durable and weather-resistant. This ensures that your stand remains in good condition for a long time.
Frequently Asked Questions Of How To Make A Dirt Bike Stand Out Of Wood
What Can I Use Instead Of A Dirt Bike Stand?
You can use a motorcycle jack, sturdy wooden blocks, or an improvised platform as alternatives to a dirt bike stand.
How To Make A Homemade Bike Stand?
Create a DIY bike stand by following these steps: Gather materials, cut pipes, assemble pieces, and secure stand.
How Do You Put A Stand On A Dirt Bike?
To put a stand on a dirt bike, follow these steps: 1. Locate the stand on the left side of the bike. 2. Stand on the left side of the bike. 3. Use your foot to kick the stand down until it locks in position.
4. Push the bike slightly forward or backward to ensure it is stable on the stand.
Is It Bad To Leave A Dirt Bike On A Stand?
Leaving a dirt bike on a stand is not bad for it.
Conclusion
To wrap things up, crafting your own dirt bike stand out of wood can be a fun and rewarding DIY project. With just a few basic tools and materials, you can create a custom stand that perfectly fits your needs and budget.
Not only will a wooden stand provide a sturdy and stable platform for your dirt bike, but it can also add a touch of personalization and uniqueness to your garage or workshop. By following the step-by-step instructions and safety precautions outlined in this blog post, you can ensure a successful build while keeping yourself and your bike safe.
Remember to take your time, measure accurately, and pay attention to detail for the best results. So, why not give it a try and see how you can make your dirt bike stand out with a wooden stand that you made yourself?
Happy building!