To install dirt bike graphics, first clean the surface, align the graphics, and press them firmly onto the bike. Transforming the appearance of your dirt bike can be an exciting project.
One simple way to achieve this is by installing custom graphics. Not only do they give your bike a unique and personalized look, but they also provide protection against scratches and wear. If you’re wondering how to install dirt bike graphics, don’t worry—it’s a straightforward process that can be done at home.
We’ll take you through the step-by-step instructions for a successful installation. So, let’s get started and give your dirt bike a fresh new look!
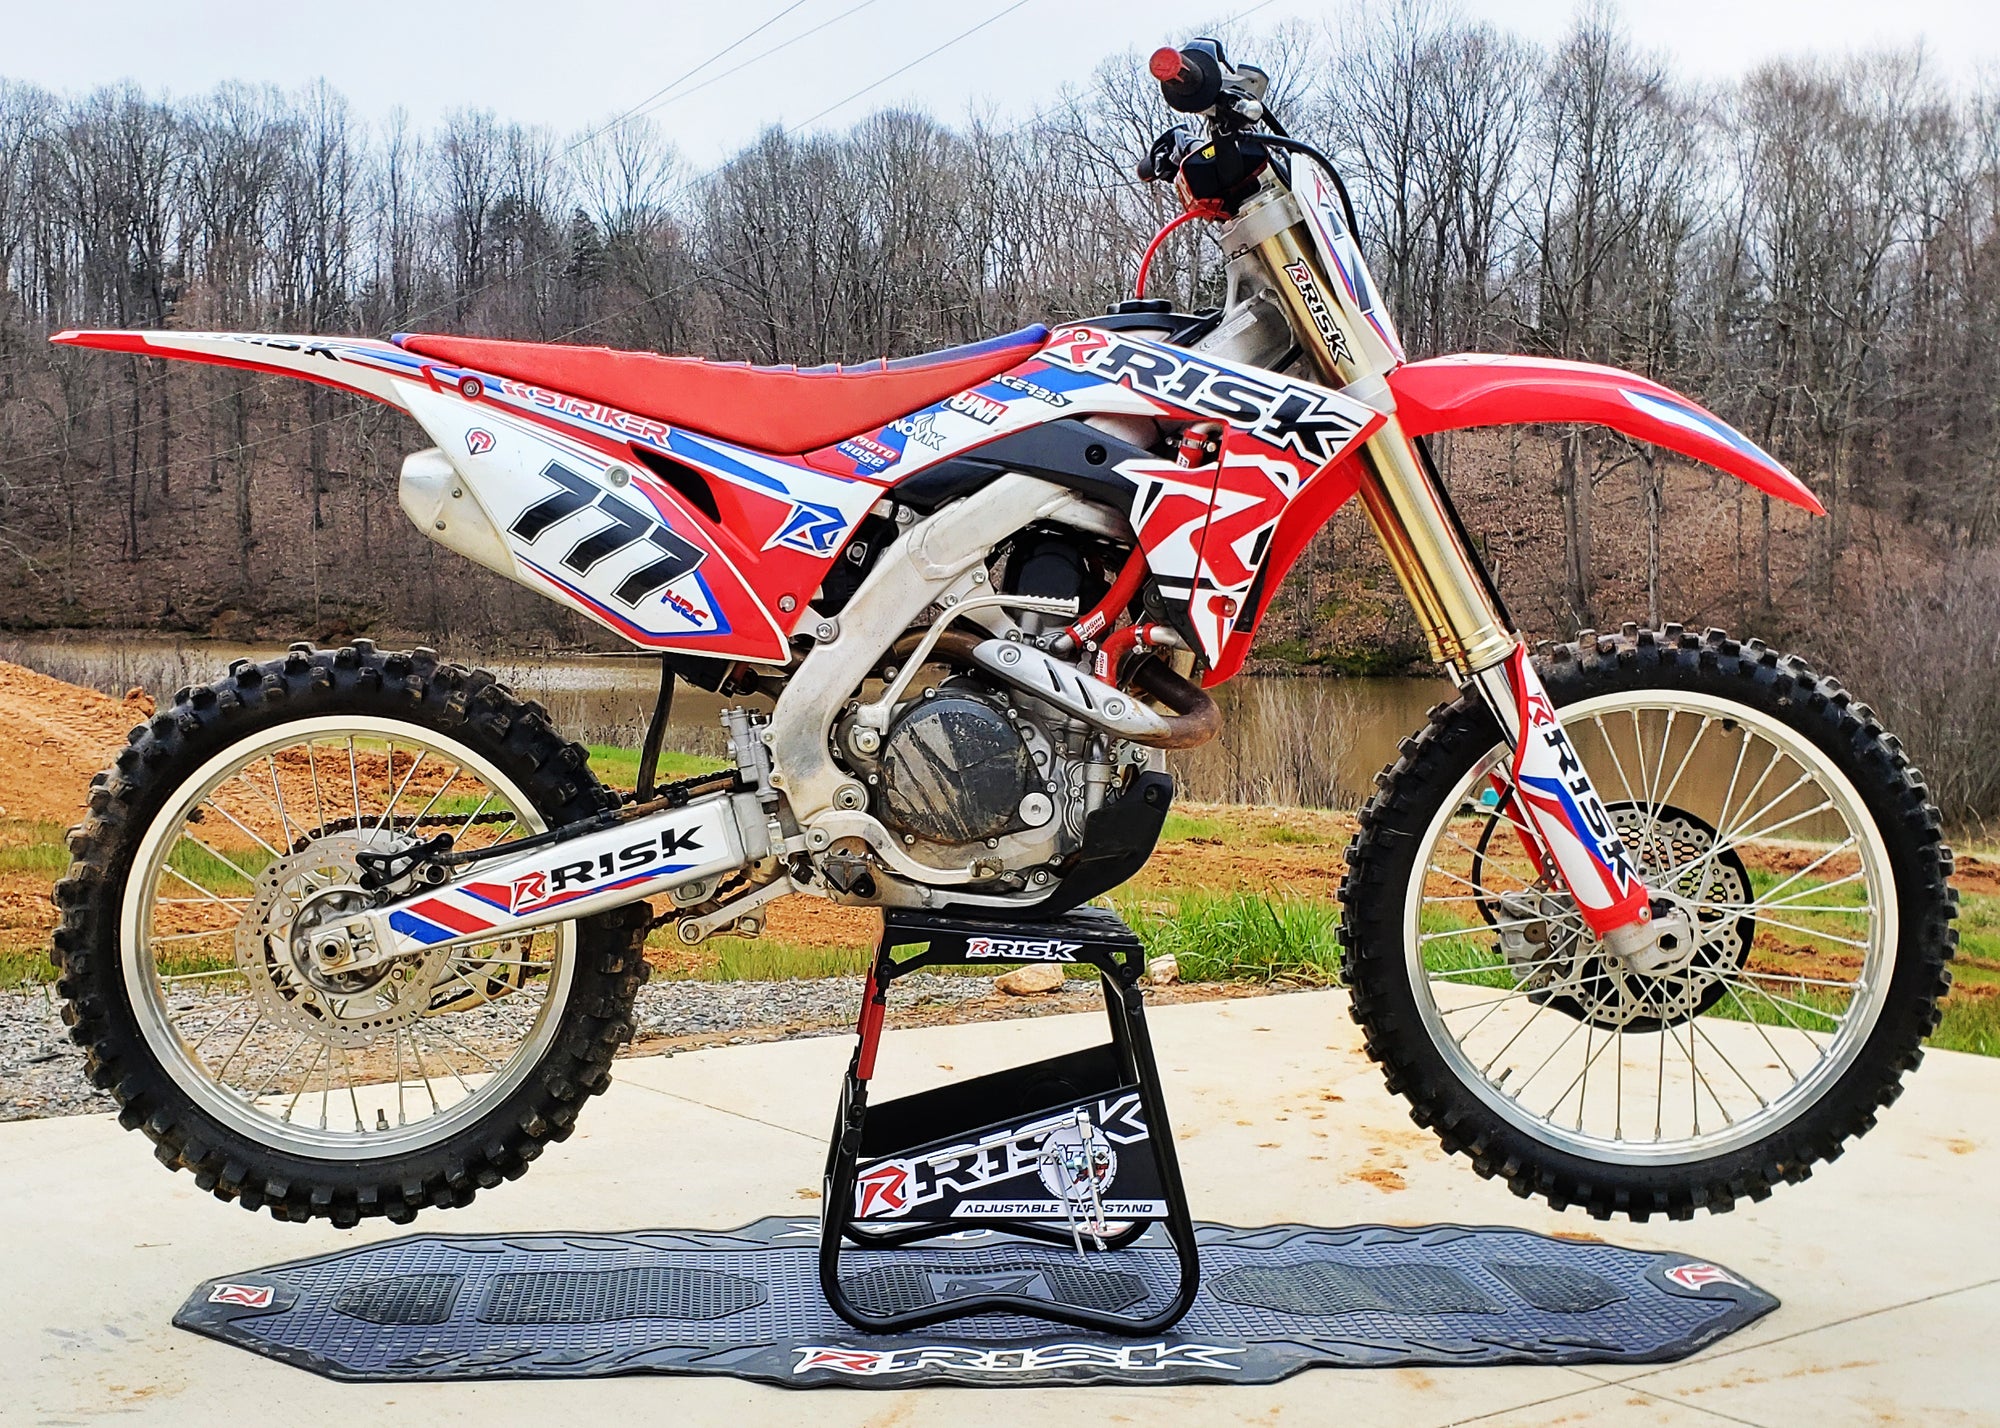
Credit: riskracing.com
Getting Started With Dirt Bike Graphics Installation
To install dirt bike graphics, you will need a few tools and materials. The following are the necessary items for the installation:
- Dirt bike graphics kit
- Heat gun or hairdryer
- Clean cloth or microfiber towel
- Isopropyl alcohol or mild soap and water
- Rubber squeegee or credit card
- Masking tape or painter’s tape
Before applying the graphics, it’s important to prepare the dirt bike surface properly. Start by cleaning the area where the graphics will be applied using a clean cloth and isopropyl alcohol or mild soap and water. Make sure the surface is free from dirt, grease, and any other contaminants.
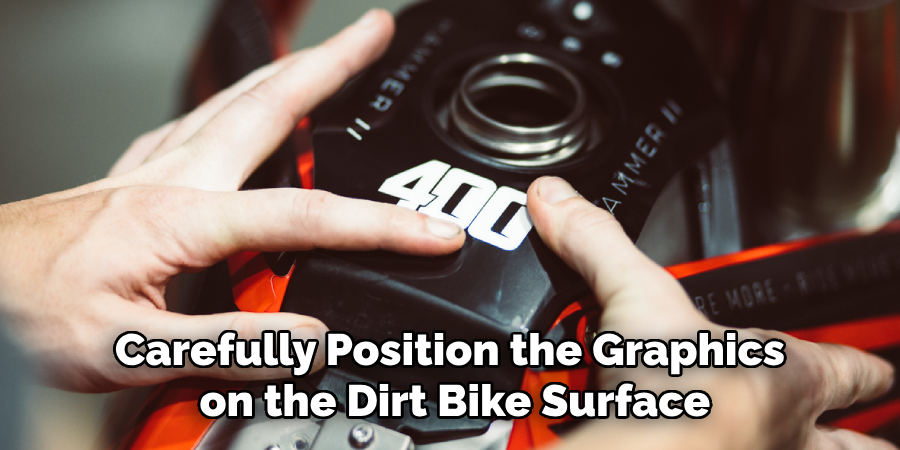
Next, carefully position the graphics on the dirt bike surface. Use masking tape or painter’s tape to hold the graphics in place temporarily. Then, use a heat gun or hairdryer to warm up the graphics and make them easier to mold onto the bike’s curves.
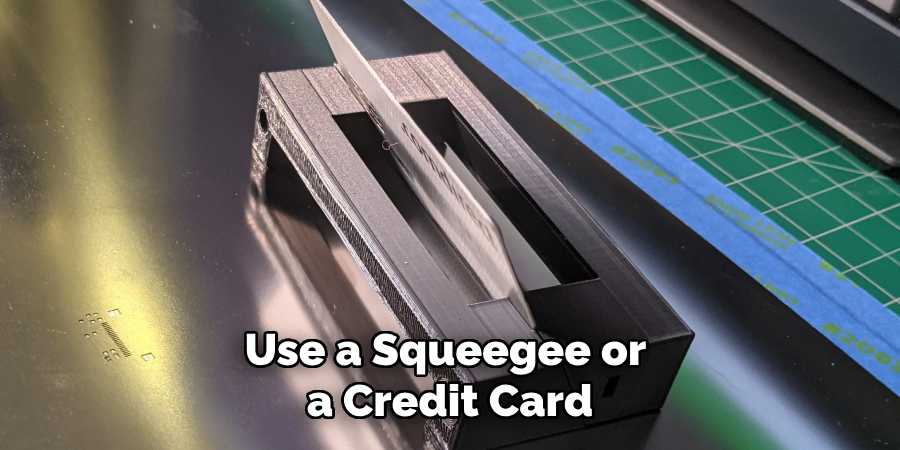
Once the graphics are aligned correctly, use a rubber squeegee or credit card to smooth out any air bubbles or wrinkles. Apply firm pressure to ensure proper adhesion. Finally, remove the masking tape and admire your newly installed dirt bike graphics!
How to Install Dirt Bike Graphics: Step by Step Guide
Removing Old Graphics
When it’s time to install dirt bike graphics, the first step is to remove the old graphics. Here is a step-by-step guide to help you with this process:
- Start by heating up the old graphics using a heat gun or a hairdryer. The heat will loosen the adhesive and make it easier to remove.
- Gently peel off the edges of the graphics using your fingers or a plastic scraper. Take your time and be careful not to damage the surface of the dirt bike.
- If you encounter stubborn adhesive residue, use a mild adhesive remover or rubbing alcohol. Apply it to a clean cloth and gently rub the residue until it comes off.
- Once all the old graphics and adhesive residue are removed, clean the surface with soap and water. This will ensure proper adhesion for the new graphics.
- Dry the surface thoroughly before applying the new graphics. Any moisture can interfere with the adhesion process.
- Finally, align and apply the new graphics according to the manufacturer’s instructions. Use a squeegee or a credit card to smooth out any air bubbles and ensure a secure bond.
Choosing The Right Dirt Bike Graphics
Installing graphics on your dirt bike is a great way to add a personal touch and make it stand out. But with so many options available in the market, choosing the right graphics can be overwhelming. Here are a few factors to consider when selecting graphics for your dirt bike:
- Design: Look for graphics that match your personal style and preferences. Consider the color scheme, patterns, and overall aesthetic appeal.
- Quality: Ensure that the graphics are made from durable materials that can withstand the rigors of off-road riding. High-quality graphics are resistant to fading, peeling, and scratching.
- Fit: Check the compatibility of the graphics with your specific dirt bike model. Proper fitment is essential to ensure a seamless installation.
- Application: Determine whether the graphics can be easily applied using adhesive or if they require heat for proper adhesion. Consider your skill level and the tools you have available for installation.
- Brand Reputation: Choose graphics from reputable brands known for producing high-quality products. Read customer reviews and ratings to gauge the overall satisfaction of previous buyers.
Popular types of graphics available in the market include full kits, partial kits, pre-cut decals, and custom graphics. Each type offers a unique way to customize your dirt bike according to your preferences.
Applying The Adhesive Graphics
Installing dirt bike graphics can add a personalized touch to your bike and make it stand out. One crucial step in applying these adhesive graphics is to ensure proper alignment and positioning. Start by thoroughly cleaning the surface where you intend to place the graphics, removing any dirt, grease, or debris. This will help the adhesive bond effectively.
Next, carefully peel off the backing of the graphics and align them with the desired area of your bike. Take your time to position them accurately, making sure they are centered and level. You can use a measuring tape or visual cues to assist you. Once you are satisfied with the placement, start applying pressure from the center outward to eliminate any potential air bubbles.
To achieve a bubble-free application, consider using a squeegee or your fingers to smooth out the graphics. Work slowly and methodically, ensuring that the entire graphic adheres properly to the surface. If any bubbles or wrinkles appear, gently lift the graphic and reapply it before pressing firmly again.
By following these techniques, you can successfully install dirt bike graphics and enhance the appearance of your bike. Remember to handle the graphics with care, as they are delicate and can tear easily. Enjoy the process and ride with style!
Heat Activation And Finishing Touches
Using heat to activate the adhesive for secure bonding:
Applying heat is a crucial step in installing dirt bike graphics, as it activates the adhesive and ensures a secure bond. To begin, carefully position the graphics on the desired area of the bike, ensuring that they are aligned properly. Using a heat gun or hairdryer on low heat, gently warm the surface of the graphics. This will soften the adhesive, allowing it to adhere firmly to the bike’s surface. Apply gentle pressure with a clean cloth or squeegee to smooth out any air bubbles or creases.
Trimming excess graphics for a clean and professional finish:
Once the graphics are securely bonded to the bike, it’s time to trim away any excess material for a clean and professional finish. Using a sharp knife or scissors, carefully trim along the edges of the graphics, following the contours of the bike’s body. Take your time and make precise cuts to ensure a neat and polished look. Remember to take extra caution when trimming near delicate areas or curved surfaces. A clean cut will not only enhance the appearance of your dirt bike but also prevent any peeling or lifting of the graphics.
Caring For Dirt Bike Graphics
Installing dirt bike graphics is a great way to customize and enhance the look of your bike. However, it’s essential to take proper care of your new graphics to ensure their longevity and keep them looking fresh. Here are some best practices for maintaining the lifespan of your dirt bike graphics:
- Regularly clean your graphics using mild soap and water. Avoid using harsh chemicals or abrasive materials that could damage the graphics.
- Use a soft cloth or sponge to gently wipe away dirt and debris. Be careful not to scrub too hard, as this could cause the graphics to peel or fade.
- Avoid high-pressure washers when cleaning your bike, as the force can potentially lift or damage the graphics. Instead, use a gentle stream of water to rinse off any remaining dirt.
- After cleaning, allow the graphics to air dry or use a clean, soft towel to pat them dry gently.
- Regularly inspect your graphics for any signs of peeling or damage. If you notice any issues, take immediate steps to fix or replace the affected areas.
- Consider using graphic protectors or clear vinyl overlays to add an extra layer of protection to your dirt bike graphics.
By following these simple cleaning and maintenance tips, you can ensure that your dirt bike graphics stay vibrant and looking their best for a long time.
Frequently Asked Questions (Faqs)
Yes, you can reposition the dirt bike graphics if you make a mistake during installation. It is recommended to carefully peel off the graphic and reapply it at the desired position. Make sure to do it gently to avoid any damage or wrinkles on the graphic.
Dirt bike graphics typically last for a long time if they are well taken care of. With proper cleaning and maintenance, they can last for several years. However, the durability may vary depending on various factors such as riding conditions, exposure to harsh weather elements, and quality of the graphics.
Applying graphics on a dirt bike with a textured surface can be more challenging compared to a smooth surface. It is important to ensure that the surface is clean and free of any dirt or debris. Using a heat gun or hairdryer can help in making the installation easier by softening the graphic and allowing it to conform better to the textured surface.
Frequently Asked Questions On How To Install Dirt Bike Graphics
How To Choose The Right Dirt Bike Graphics?
To choose the right dirt bike graphics, consider the design, color, and material. Pick a design that matches your bike’s style and personal preference. Ensure that the colors complement your bike’s color scheme. Also, opt for durable and weather-resistant materials to ensure long-lasting graphics.
Can I Install Dirt Bike Graphics By Myself?
Yes, you can install dirt bike graphics by yourself. Start by thoroughly cleaning your bike’s plastics to remove any dirt, grease, or debris. Then, carefully peel off the backing of the graphics and apply them to the desired areas, smoothing out any air bubbles.
Finally, use a heat gun to ensure a secure and tight bond.
How Do I Remove Old Dirt Bike Graphics?
To remove old dirt bike graphics, start by peeling off any loose edges or corners. Then, use a heat gun to warm up the adhesive. This will make it easier to peel off the graphics without damaging the plastics. Gently lift and peel the graphics, applying heat as needed.
Clean any remaining residue with adhesive remover.
How Can I Maintain Dirt Bike Graphics?
To maintain dirt bike graphics, be cautious while washing your bike. Use a mild soap and avoid high-pressure washers, as they can damage the graphics. Also, avoid using abrasive materials for cleaning. Regularly inspect the graphics for any signs of peeling or damage.
If necessary, touch up or replace any worn-out or damaged graphics.
Conclusion
Installing dirt bike graphics is an exciting way to add a personal touch to your bike and showcase your style. By following the step-by-step guide shared in this blog post, you can easily transform the appearance of your dirt bike.
Remember to clean and prepare the surface properly, apply the graphics accurately, and take your time for a professional finish. Enjoy the transformation and get ready to turn heads with your newly customized dirt bike!